

A Spectrum Of Lights: GloWorm Alpha G1.0 RF – by Grannygear
After I was done with the recent reviews of the all-in-one 1000L lights for gravel/road cycling, I was pretty happy with using one of them or another, mostly the Bontrager. But then I saw an ad for a light from a company called Gloworm based out of New Zealand. It was advertised as 1200L and was $150.00, so really not much more cost than what I had. And although it was not that much more in light output, it did have a few features that peaked my interest.
- Dual LEDs with swappable optics.
- A seperate battery and light head.
- A wireless remote.
- Customizable light levels.
So I thought, why not? Will this get me to a sweet spot for all-round gravel riding? Only one way to find out, so the order was placed. Since then, I have been using it off and on and I have some thoughts on the good and the less than good features of the Gloworm Alpha G1.0 RF.
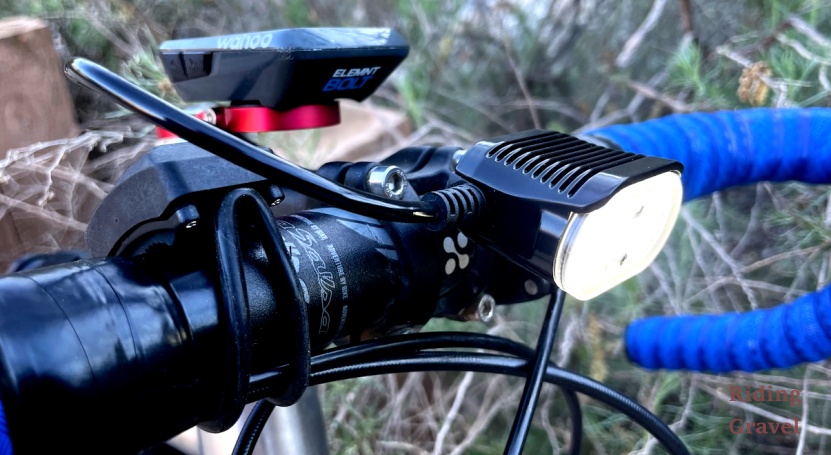
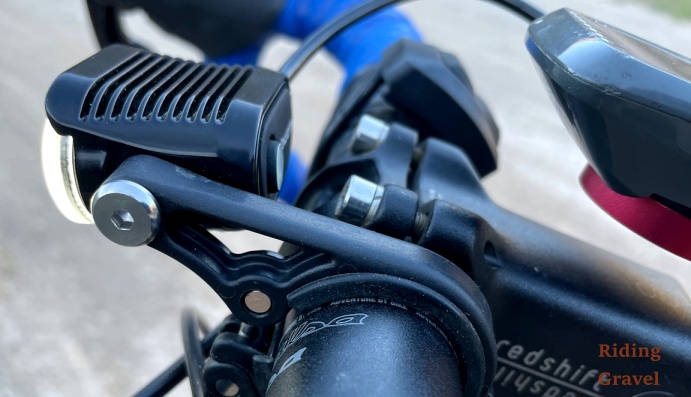
Out Of The Box: Unboxing the Gloworm showed a very tidy light head, small and well machined out of heat dissipating aluminum. The clamp is metal and solid, designed to sit to the side of the light head. There are two adjustments with this: rotation of the main clamp on the bars and rotation of the light head on the clamp arm. There is no ability to adjust the light horizontally (pan side to side).
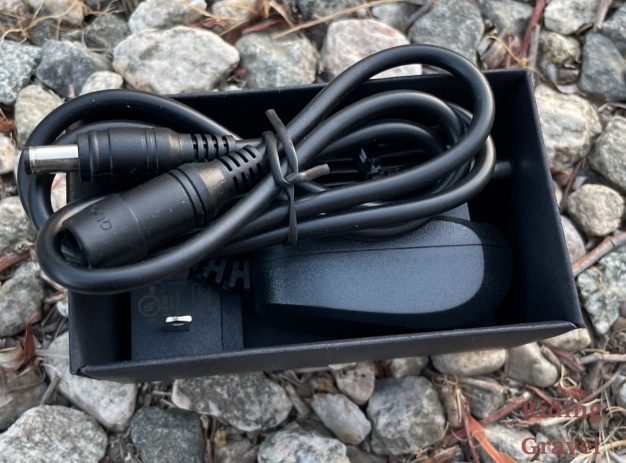
The battery pack is compact as well and has a dedicated charger and a secure feeling plug interface to the light head. I am not crazy about the dedicated charger as I am used to charging lights with a USB interface. This does feel like a step backwards in that regard.
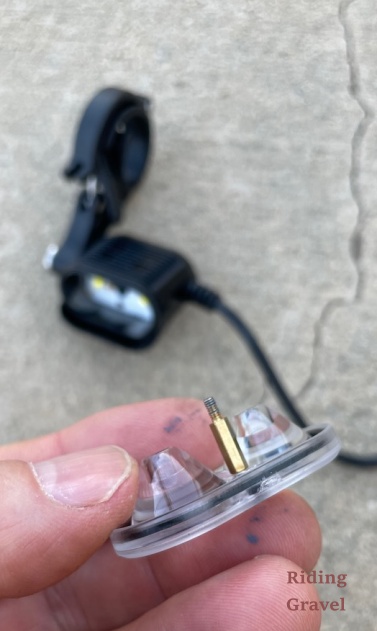
I was excited about the swappable optics (included in the box and swapped with an included, tiny, Allen wrench). Having two LEDs allows for two spot lenses or two flood lenses or, in my case, one spot and one flood. I went to the 1/2 and 1/2 option right away, hoping to get that blend of long throw and wide light spread that a single LED light is hard pressed to do. Also in the box is a GoPro-type helmet mount, some Velcro straps, and a small storage bag for the tiny parts, optics, etc.
I also liked the idea of being able to carry a second battery or purchase a larger capacity battery from Gloworm if I was out for a looong adventure, something that an all-in-one light typically cannot do. The light comes with an extension cable for the light, between the battery and the light head, so you could run it in a frame bag too. Also, the ability to tune the light levels to my preferences excited me. Options are good. Although I later learned that the light I purchased does not work with the phone app, but needs to be tuned with a sequence of button pushes and light flashes. Meh. A bit of a faff, really, and I doubt I will ever go the that amount of trouble.
Oh yeah…the wireless remote. I had a feeling that would be nice to have.
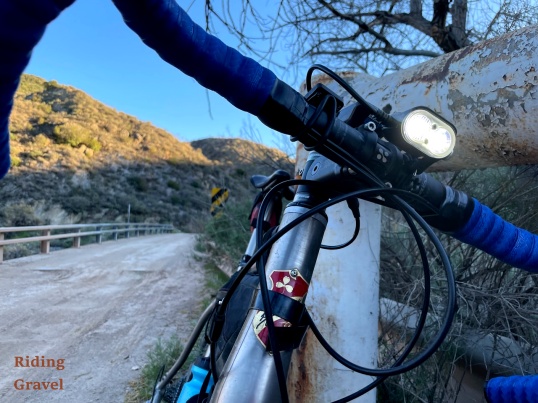
Some Speed Bumps: So, how has it all worked out? Pretty well, but with some caveats. First of all, the light level and pattern has been very good. It is a step up, although not a big one, from the other lights in the test. I am giving up very little in distance/light throw and yet I have a nice wide light pattern at the same time. I know that the jump from 1000L to 1200L is not much, but it seems like more with the optics in there. If I were road riding I would just go Spot/Spot, but for the dirt, that one LED in a flood beam is nice.
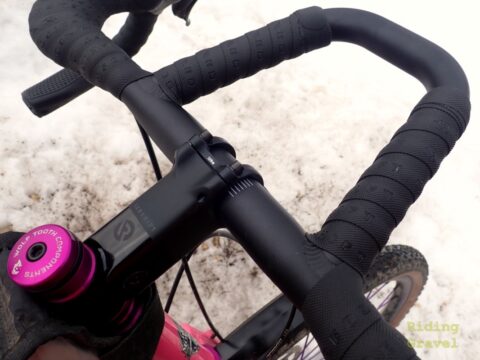
The clamp is solid for sure and the quick release aspect is convenient. I do wish that the rubber gasket that takes up the space between the clamp and the bars was fixed to the clamp in some way. It is not and it’s easy to lose. You can tell this company is MTB oriented as the light head is located right where a typical computer would be on a drop bar bike’s mount…front and center to the stem. However, that light mount also has the ability to articulate the light head down below the computer, so although it might be in the way of cables, it gets it away from the Garmin/Wahoo, etc.
You could do it differently…….The light also takes a GoPro mount so I would think you could set it up to run above or in front of the bars, centered at the side of the stem. The GoPro mount attaches to the bottom of the light head, not the side, and while it is likely intended to be used on the helmet top, it also adds flexibility to use an after market GoPro bar or stem mount.
Keep in mind that the wire exits the light head to the right side of the light, not the back, so nothing can be to the right side of the light, or at least not too closely.
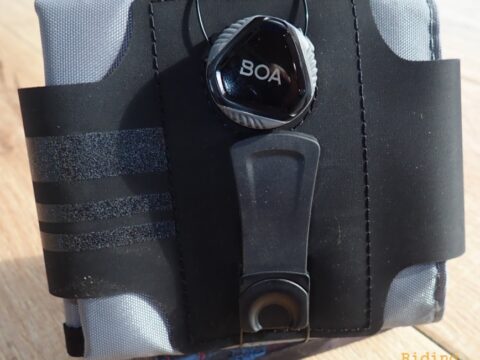
Now, that flexibility can also place the light head where you cannot easily get to the power/mode button. Enter the wireless remote! That dual button widget attaches to the bars with a rubber o-ring and allows you to turn the light on, off, and cycle through the modes. If I did not have this remote, I would have not kept the light as it makes operating the light while riding super easy.
And here is another place where the light as you get it seems to say MTB. The o-ring on the remote was so thick and limited in it’s ability to stretch that I had to replace it so it could reach around bar tape. MTBs do not use bar tape so that smaller o-ring would be fine on a bare MTB handlebar. I used one from a bag of old Garmin mounts.
Speaking of the remote, I lost it. Yep. Gone baby, gone. So I ordered another one and THAT one came with several sizes of o-rings. Huh! Dunno. The remote is paired to the light by pressing and holding one of the buttons (there are two) as soon as you plug the light into the battery. The light blinks and you are paired. It also seems that you need to do this every time you start out as my findings seem to show that the pairing does not last once you unplug the light. It’s not a bother, just something to note.
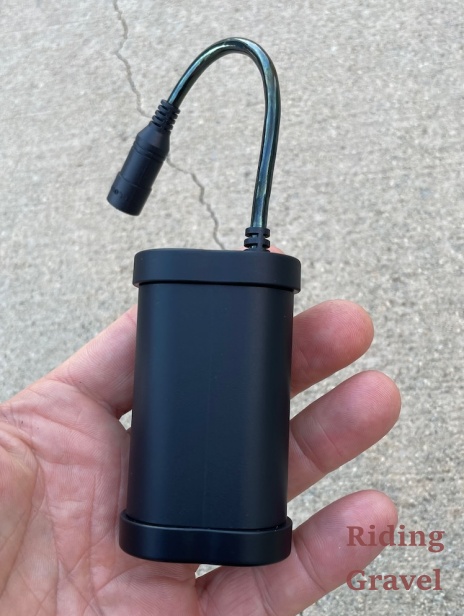
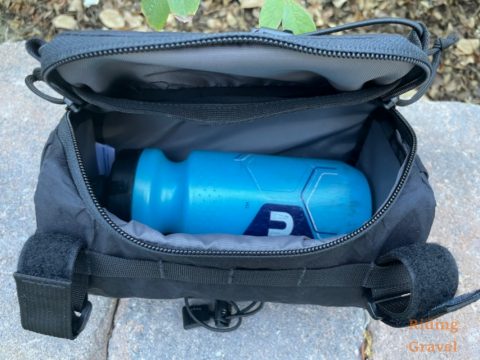
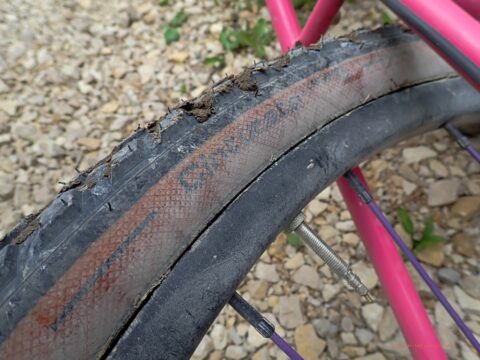
I have been strapping the battery to my top tube but it could also go in a bar bag or bento bag. The cable is not super long, so there are limits here. The battery is also the place where the status lights are located as to battery charge level. That is fine, but the way they are located places them facing the head tube so seeing them while riding is not easy. At first I assumed the power/mode button on the light head would tell me the charge level with a typical green/amber/red dealie, but I was surprised one night when I stopped to take a break and noticed my battery was in the ‘red’ while the light head button was a nice and safe feeling green. Oops!
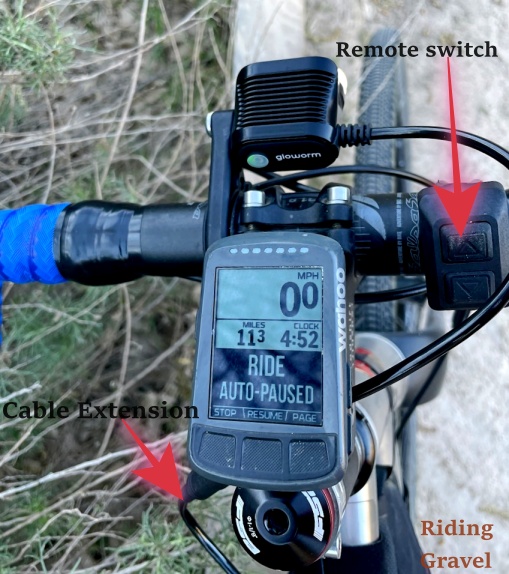
Using It On The Road : I run the remote on the right side of the stem, over the bar tape but close enough to the center of things so I can still use the flats. It actually is quite convenient. Oh yeah! I forgot to mention one HUGE plus in my book. The light levels. You get Low/Med/High and hold/press force into Low/Low, like for walking out of the trail or sitting around on a break. Love this. No useless flashy mode rotation or off/on situation.
Excellent.
Besides that, it’s been very good for mixed surface gravel rides and night time excursions. It is what I would grab for a night ride that saw me out there in the dark for an hour or more. If I just needed a hedge in case I run into twilight, then those all in ones are more convenient and adequate. But the better light pattern, the extra brightness, the wireless remote, and the long run time with options for really long run times…it’s a notch up.
Low setting is good enough for long, slow, climbs and for use as a ‘be seen’ light in traffic in the daytime. Medium is actually really useful and plenty for dirt road cruising. High is as much light as I would need for anything off road on my gravel bike and if I needed more reach for higher speeds, I would put both spot optics in there.
What’s next?: Now then, the next light I am going to talk about is a real surprise and, in the process of using it, I had my eyes opened to some hidden truths behind claimed run times/Lumen levels. It also has some truly unique, and to my way of thinking, better features that make most of the other lights seem like simple flashlights with a bar mount.
More on that soon. Stay tuned.
For more details on the GloWorm Alpha G1.0 RF, see their webpage here.
Note: Grannygear purchased this GloWorm light with his own money. Riding Gravel was not paid, nor bribed for this post. We always strive to give you our honest thoughts and opinions throughout.


Nice review. I have Gloworm XSV and have generally been thrilled with it for night gravel riding. It’s a considerably more powerful light (1000, 2000, 3200) and when mounted under a Garmin, using the GoPro mount, it casts a fantastically useful beam far up the road, if you angle it properly. The beam pattern and light color really is great- I get lots of people asking me which light it is because they’re impressed. I get 3 hours if I run it on medium solely, and considerably more than that if I go to low on the uphills and whenever riding in a group. The remote is very handy for adjusting the intensity often, and as you say, the light would be a bit of a pain to adjust under your bars without this. I have written to them a couple of times suggesting a better, more permanent mounting system for the remote, as the rubber band solution is ok but not great. Riding a lot at night in the winter here in MN, I feel it is essential to always carry a backup battery, and so always prefer lights with separate batteries.