PRO Smart Cage System: Getting Rolling – by Guitar Ted
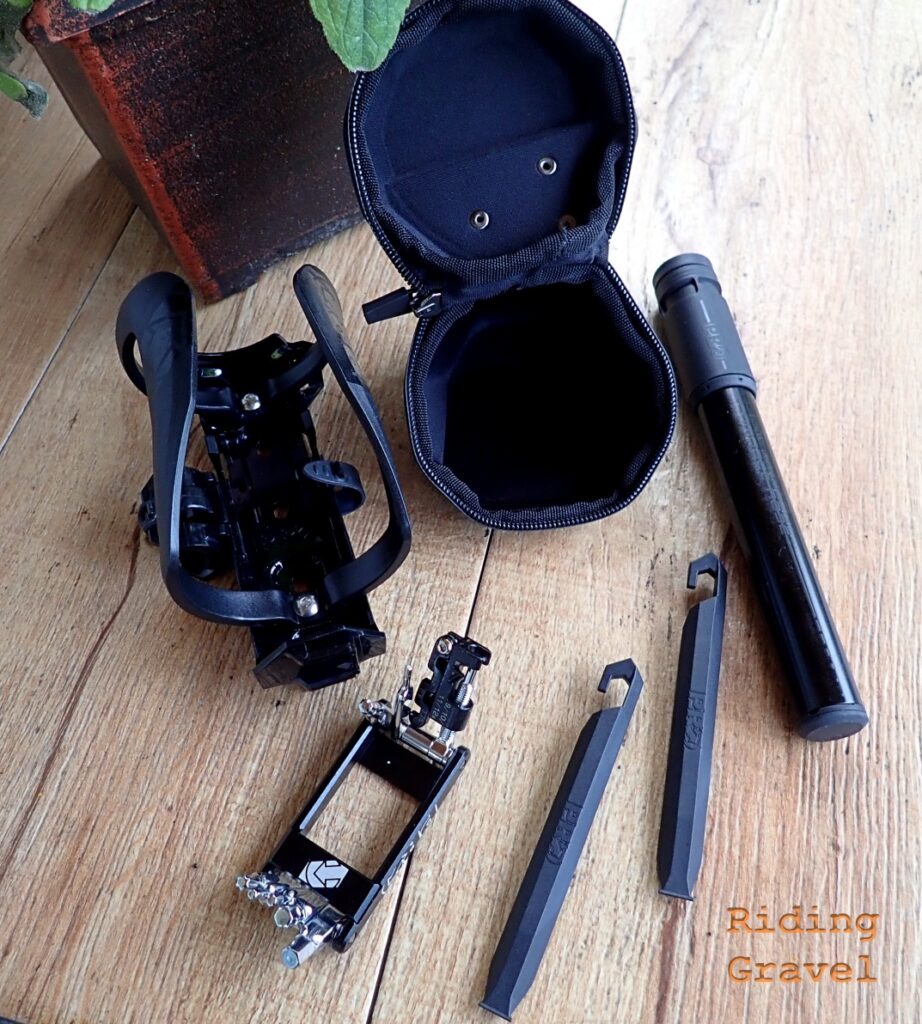
The storage system ideas for repair tools just keep coming, and PRO is in the game with their Smart Cage System. This is a modular system which you can add to with a few tools, or go bare-bones with just the cage itself. Riding Gravel received the complete system to review, so let’s take a closer look at the PRO Smart Cage System and see if it is something that makes sense for the gravel rider.
What It Is: The Smart Cage System starts out with the base water bottle cage, which alone is a pretty versatile cage in terms of how it can be configured. The cage has two ways to mount it for height and can be a left or right side-loader, or a standard centered cage. Along with that you also get two tire levers with the purchase price. These nest alongside the cage and are held in place with a rubber strap that hooks into the cage body.
Additionally, the cage can also hold a mini-pump and a multi-tool and these integrate into the cage for a secure way to carry these repair tools on the bike. The final piece of the puzzle comes with the PRO Storage Pouch which snaps into the bottom of the cage and could hold a small tube, or other repair items. The system can be purchased piece by piece, so if you don’t need the pump, or mini-tool, you don’t have to get those, as an example. Following is a breakdown of the system and costs. All prices are USD.
- PRO Smart Cage: Comes with two tire levers. MSRP $19.99
- Add A Compatible Mini-Tool: The following PRO mini-tools will snap into the base of the PRO Smart Cage- Minitool Performance 9F $27.99 – Minitool Performance 9TL $42.99 – Minitool Performance 13F $39.99 – Minitool Performance 17F $44.99
- Add A Compatible Mini-Pump: The following PRO mini-pumps will fit the mini-pump holster on the side of the Smart Cage: Compact Minipump $12.99 – Minipump Performance HV $34.99 – Minipump Compact Hose $20.99 – OR you can strap in a CO2 Inflator/cartridge.
- PRO Storage Pouch: $24.99 300ml Storage Capacity
We received the Smart Cage w/tire levers, the Minitool Performance 13F, the PRO Storage Pod, and the Minipump Compact Hose. Our system would cost $105.96 total.
There is a lot to break down with this set up, so this post will focus on the overall impressions of the pieces sent to us and the system set-up and how it worked on the bike it was mounted to. In a separate post the functions of each component of the Smart Cage System will be detailed and a final verdict on the system will be given.
Firat Impressions: The system we received included the Minipump Compact Hose, the Minitool Performance 13F, and the PRO Storage Pouch. These items all connect to the ‘base’ which is the PRO Smart Cage, and that also includes two tire levers. Add a tube and patch kit and you’d be all set for most any roadside/trailside repair.
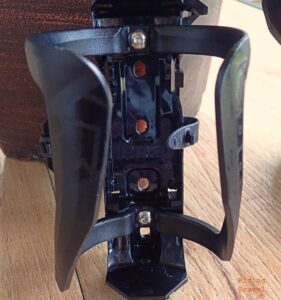
The PRO Smart Cage itself is configurable in a couple ways. You can mount it in a ‘low’ or ‘high’ orientation on your seat tube or downtube. The cage is attached to the base of the cage via a slotted hole and bolt set up. The bolt holes on the cage are offset as well. This all allows you to set the cage up as a left or right side loader, or as a traditional cage.
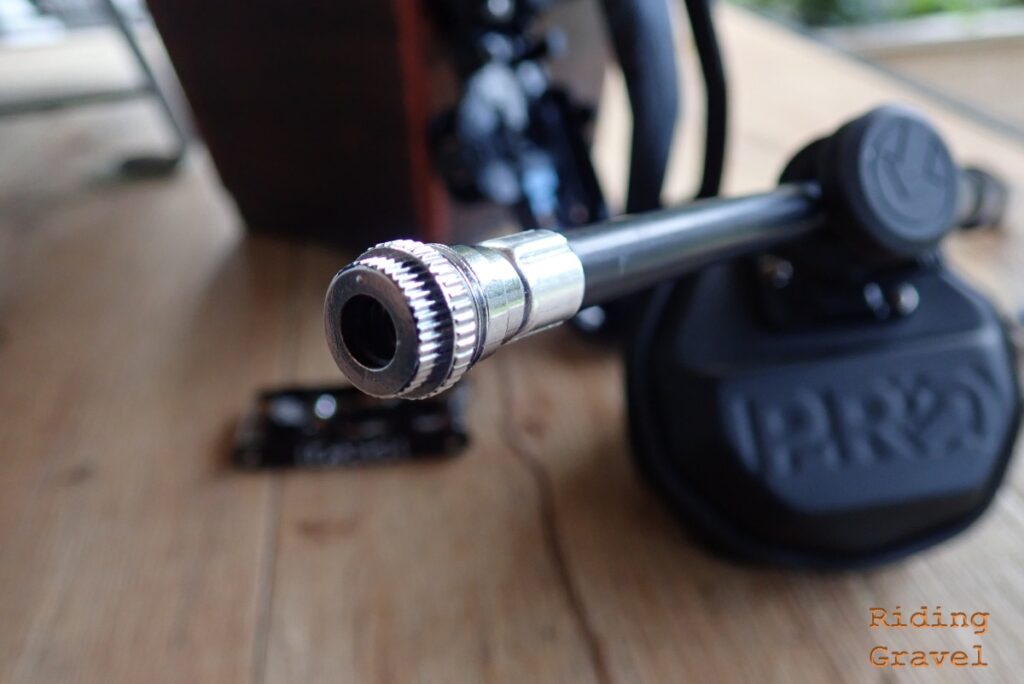
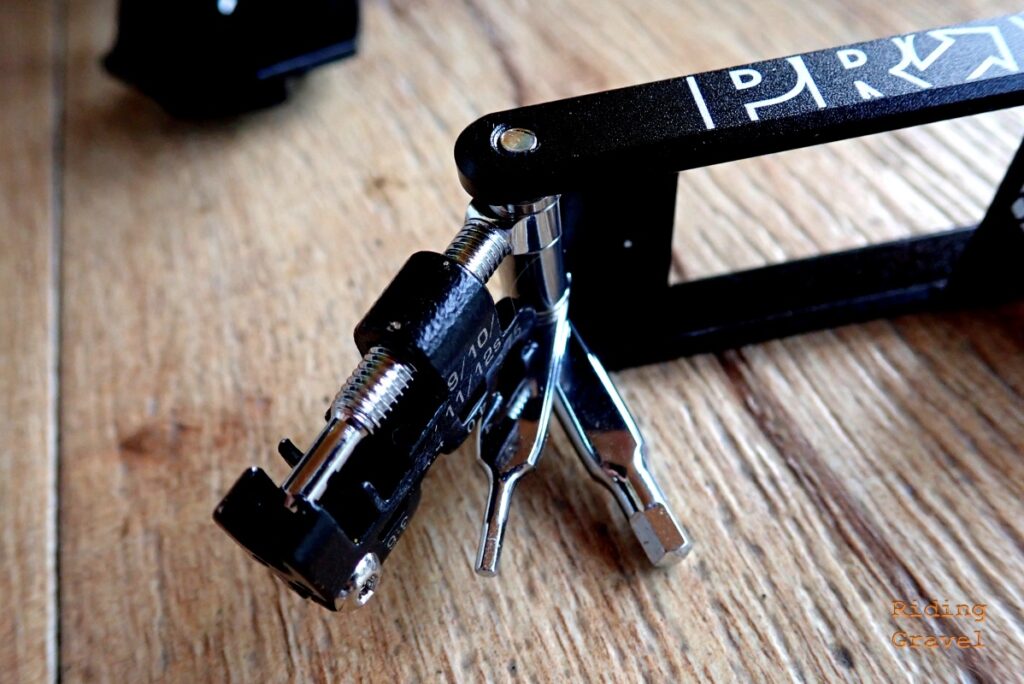
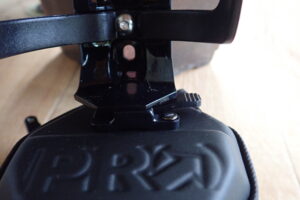
The mini-tool snaps in the base, underneath where the bottle would sit in the cage. The mini pump attaches via a rubber strap opposite of the tire levers. The PRO Storage Pouch clips on underneath the Smart Cage. It sounds complex, but in reality it all is pretty simple to understand and use.
I liked how everything seemed to integrate into the base cage. I was a bit concerned about retrieving the mini-tool from its nested position as it is not easy to get your fingers on it. However; then I realized that the tire lever can pry it out, so you can get the tool out when it is needed. Something folks with hand issues, or folks with hands that cannot get the mini tool-out should understand.
Mounting & Observations: The Smart Cage System mounts off a set of water bottle cage mounts and I chose to use the seat tube pair on my Noble GX5 carbon frame. The way that PRO shaped the PRO Storage Pouch seems to indicate that it should fit in that space just above the bottom bracket. The ‘low’ mounts- those that placed the cage lower on the seat tube – were the ones I utilized. I went for a right side bottle entry, as I am right handed. Once that was decided everything went together rather easily.
The Smart Cage System fit well and looked like it belonged on the bike. I like that the Storage Pouch comes out sideways, as getting it out any other way would be nigh unto impossible. The pump and tire levers come off and go back on well enough. I already mentioned my concerns about getting the mini-tool out.
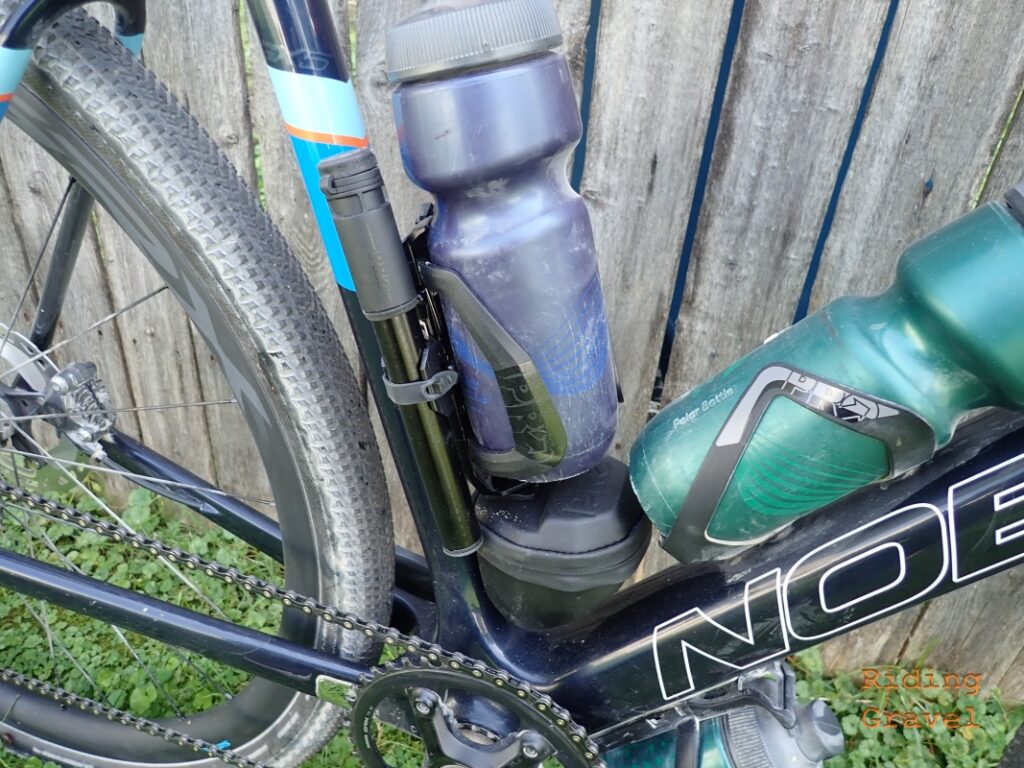
So Far… The Smart Cage System looks great, has options which you can use to tailor the system to your needs, and seems to be well made. The integration of the components makes for a compact, nice looking kit. I’m a little concerned about the access regarding the mini-tool, otherwise everything else is at hand and easily retrieved for repairs.
In my next post I am going to go over some of the individual bits in the system and give my overall verdict on this system for gravel riding. Stay tuned for that.
For more on the PRO Smart Cage System see the webpage.






1 thought on “PRO Smart Cage System: Getting Rolling”