
<Back to News Home |
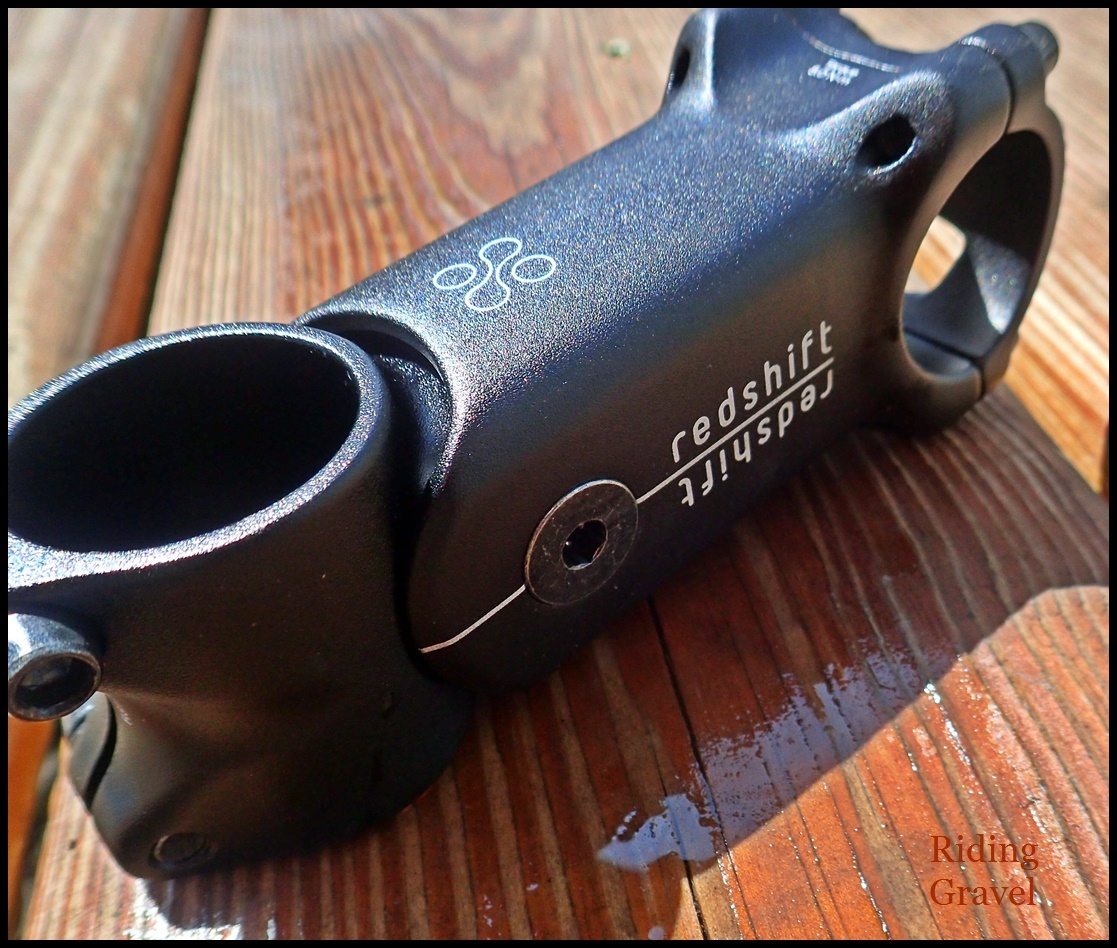
Redshift Sports ShockStop Stem: Checkpoint- by Guitar Ted
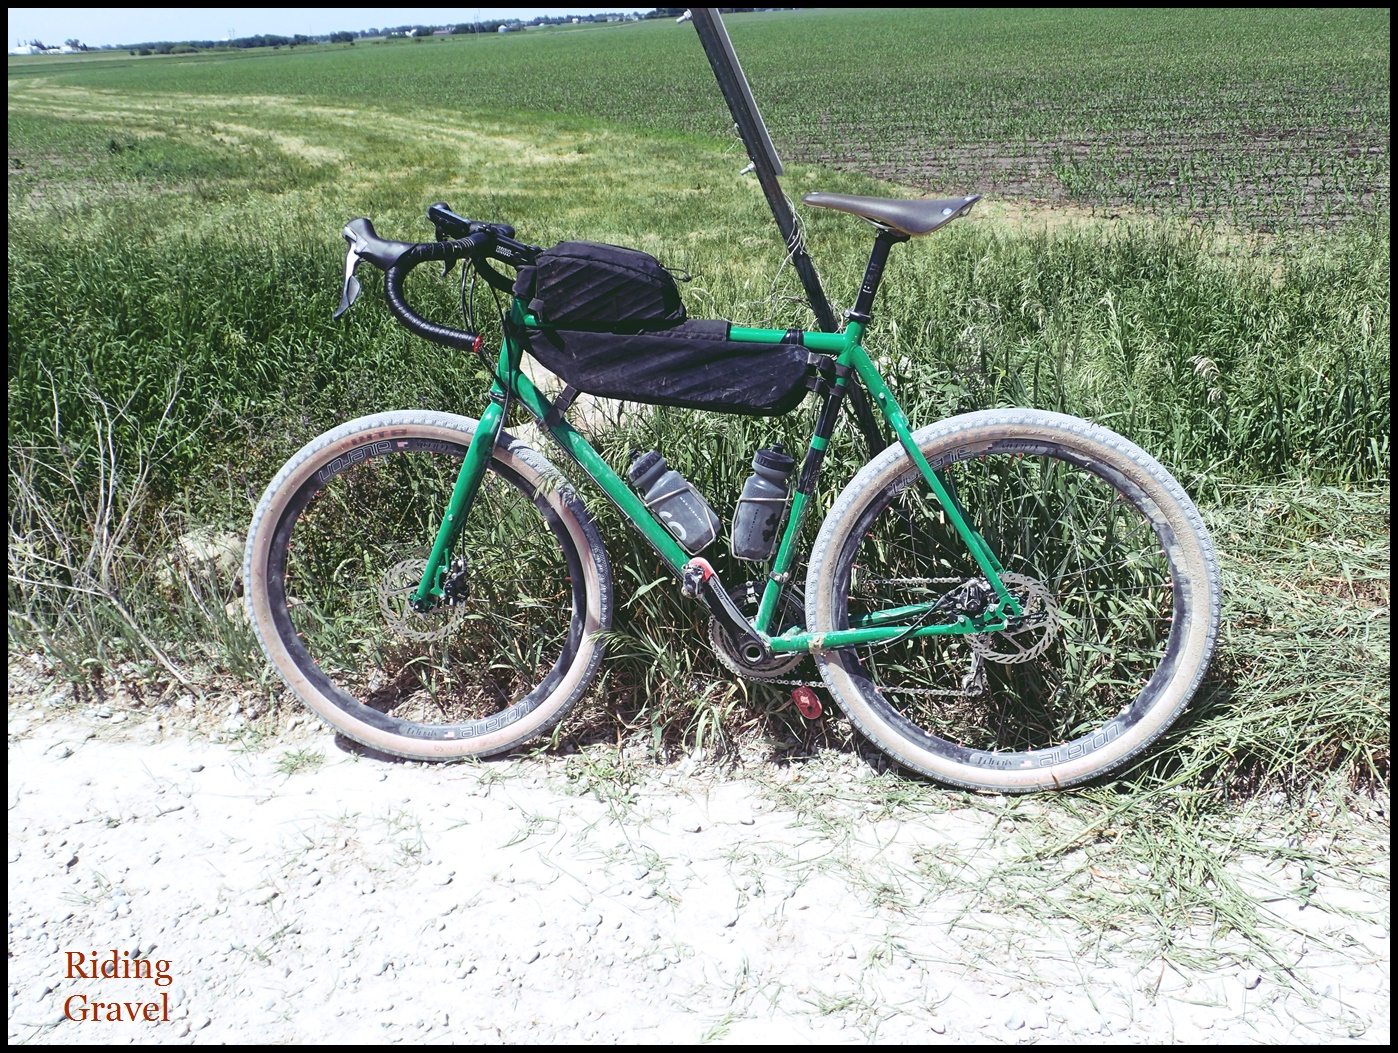
The term “suspension stem” might send shivers down your spine, or it may make your eyes roll. That would be completely understandable given the previous history of the stems with monkey motion. It seems that this component is once again the focus of manufacturers and engineers who are trying to mitigate the vibrations and bumps being encountered by those not limiting themselves to paved riding. We have been taking a look at the offering from Redshift Sports called the ShockStop stem. You can see our previous post here. In this post, I will detail how I chose a different elastomer setting on the stem and then let you know how that worked out during subsequent rides.
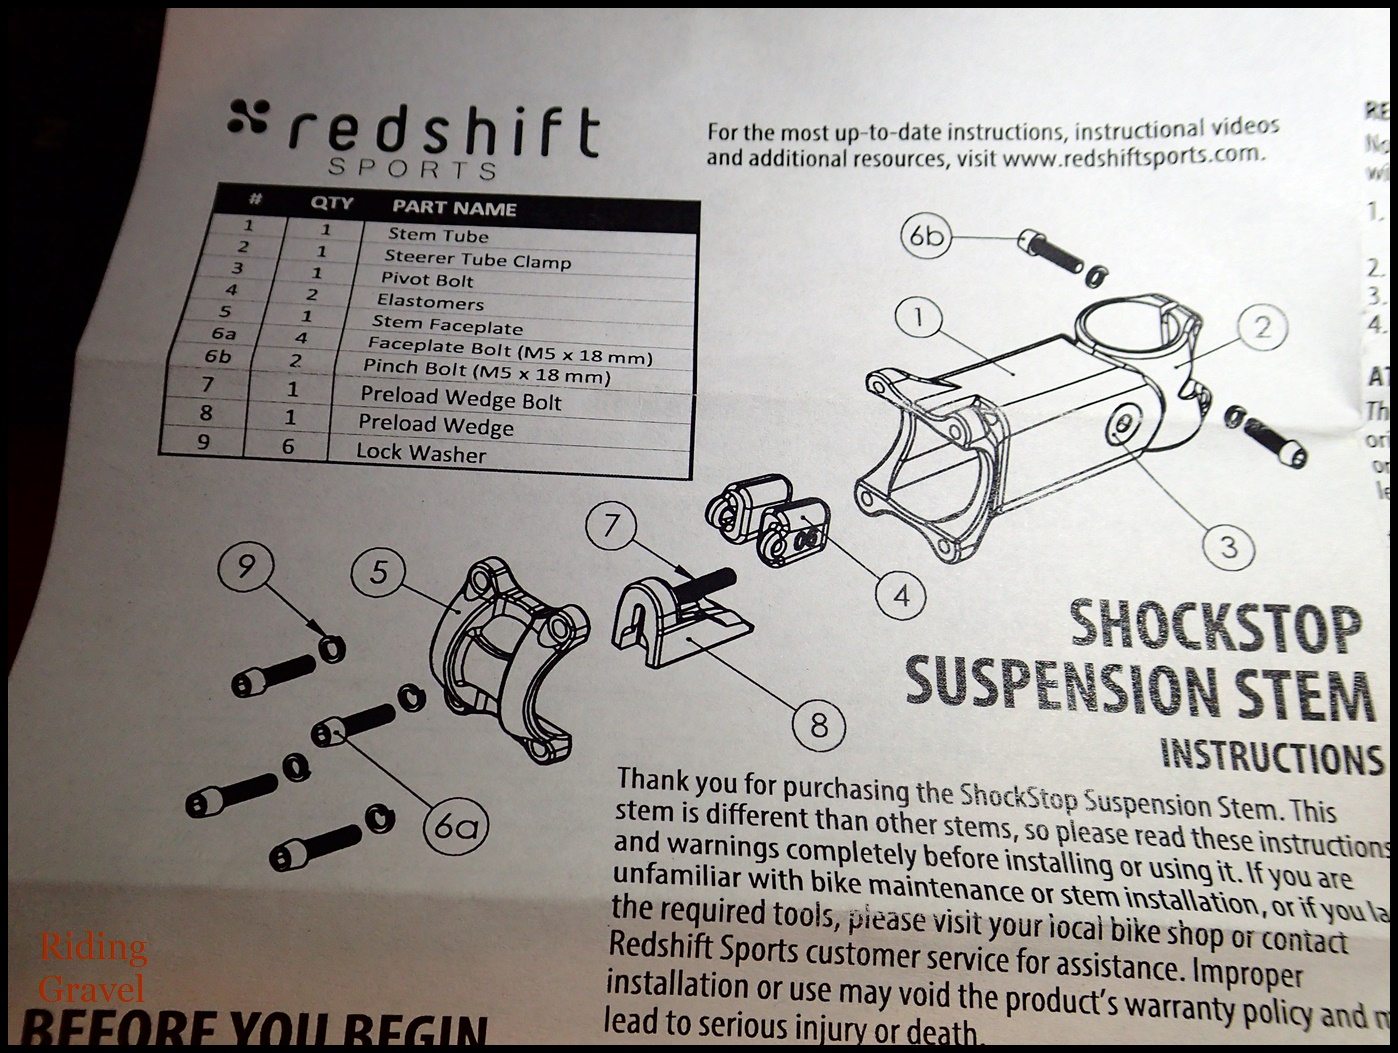
Swapping Elastomers: In the previous post on this stem, I mentioned that I had found that the stem did do some damping, but that I was curious to see what an even lighter setting might be like. The change would require that I swap out one or both of the elastomers that Redshift Sports ships the stems with. There are three other elastomers which ship with the stem so you can mix and match, or you can even use just one elastomer. Elastomers come rated with numbers molded in to them and go from a “50” up through “90” in ten step increments. So, 50, 60, 70, 80, and 90 numbered elastomers are available to you to make in to combinations. The elastomers are also color coded, by the way. Redshift Sports has a handy page on their site with all the information you might need to understand the elastomer choices and suggestions for your weight and riding. I should note that I, (and apparently many others, according to Redshift), have found that lighter than recommended settings work fine.
To make the swap you need a 4mm and 3mm Allen key and something to “hook” the loop on the end of each elastomer with to remove them. Actually, I found that my “L” bend Allen keys worked very well for that purpose. It is very important to follow the instructions given by Redshift so that you can avoid stripping out the bolt that holds the wedge piece in the stem. To avoid this possibility, Redshift insists that elastomer swaps be done while the stem is mounted to the bicycle.
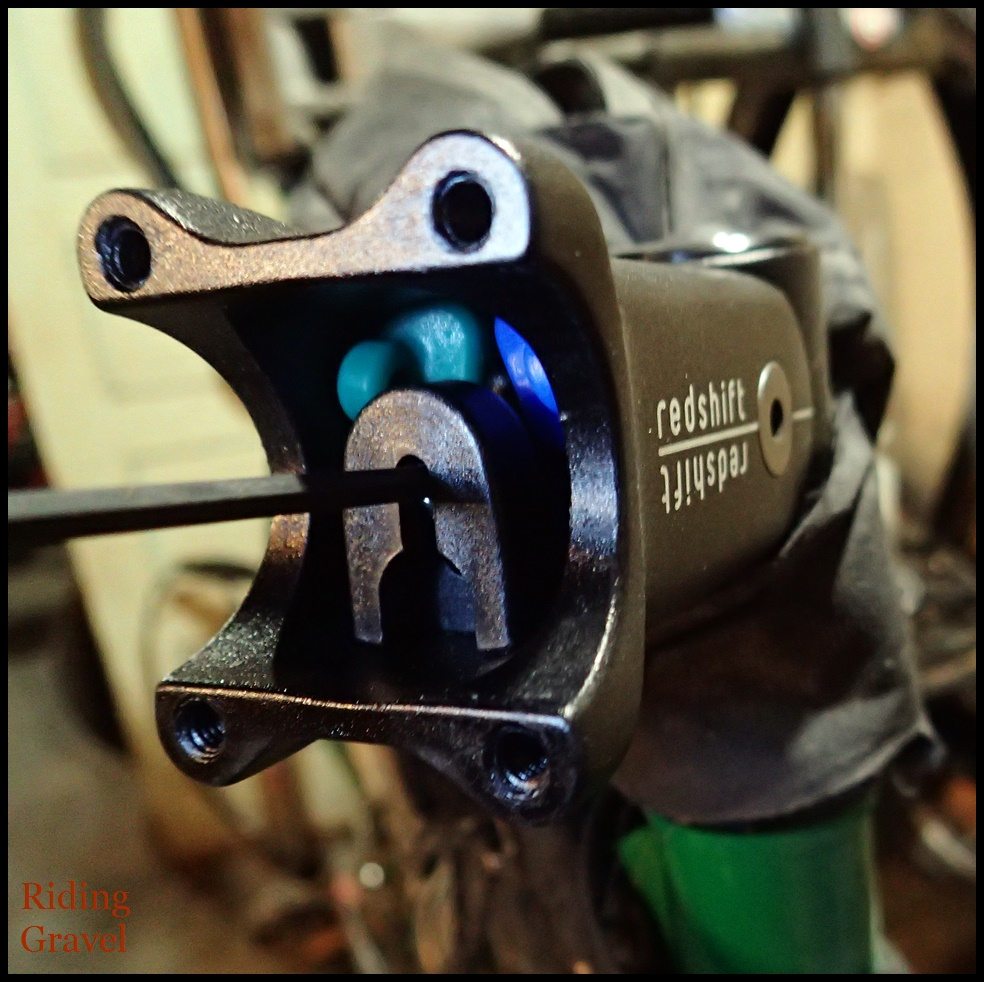
I decided to take out the heaviest rated elastomer as shipped with the stem, (an “80”), and replace it with the next lightest one to the one inside the stem already, (a “60”), so my new combination would be 70/60 instead of the original 80/70. My thinking being that this would be the least incremental change I could make. I was seeking to find out what a little more compliance might feel like.
The swap went perfectly fine as I followed the directions. Despite all the warnings and admonitions about being careful, it isn’t all that difficult a job, as mechanical things go. The main thing is to make sure you put some downward pressure on the stem as you start to thread in the wedge bolt. That said, if you are at all uncomfortable wielding your own tools, I strongly suggest that you take this project to your local bike shop mechanic.
Making sure I torqued the wedge bolt to spec, and then assembling the handle bar with the stem, and torquing the face plate bolt, I was ready to ride. The process took all of 20 minutes, but I could likely do it much more quickly next time knowing what to expect from this task. That said, I’d recommend taking your time doing this, and don’t do it just before an event! This is the kind of job that is best done on a day with no pressure.
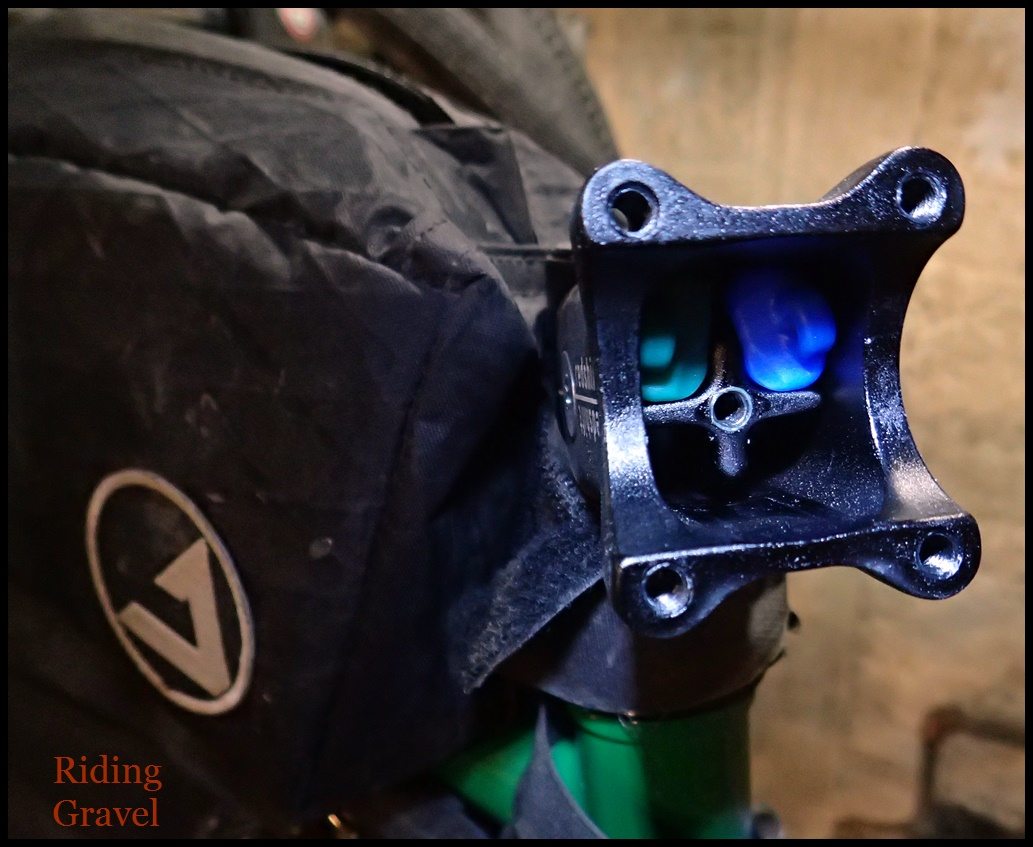
Ride Feel: So, with that out of the way I gave the bars a quick thrust downward and I could tell immediately that the bars moved more freely now than before. That elastomer swap made a very noticeable difference. Out on my test ride around the neighborhood, I could feel……well, a lot less! The pavement felt buttery smooth and the bar seemed to be very “quiet” feeling under my hands. Okay, so I was now pretty excited to try this out on the gravel. But first, I had to go to work at the bike shop I work part time at. (Yes readers, this site doesn’t pay the bills for me.) This commute to work was really an eye opener.
The route I take cuts through an alley, up over a couple curbs, across an open, grassy field, and down an embankment to a local bike path. This leads me to a stretch of broken up pavement and then finally to a residential street. All in the first mile of four. It was during my bunny hopping curbs and traversing the rough first section of my commute that I realized that I had changed elastomers on the stem. I had forgotten that I had done that for a moment until I realized that I wasn’t getting jarred and feeling the bumps like I had usually felt on my commute. Okay, so this change really smoothed out the ride. Obviously, I didn’t notice anything different in how my bicycle operated or in how the handle bars felt other than that the bike was smoother feeling. So, I surmised that the change did little, if anything to how my bike handled.
The gravel would be the final judge though. I still needed to get out there and see how my bike was going to feel on the crushed rock now with this stem elastomer change. Fortunately, the first ride was on a fair amount of fresher gravel. Just the sort of thing for which I would want a vibration damping stem on my bike. And it was what I had expected it to be like. A little “more” than what I had before, which, to my mind, was a great balance of road feel, lack of unwanted stem movement, and vibration damping effects. This elastomer combination was definitely a step in the right direction for my riding.
If there was a negative to the swap, it was that now I could induce unwanted motion. If I yanked upward on the bar, I could see a small amount of handle bar movement. If I suddenly put downward pressure on the bar, it would feel as if it were giving way for a brief second. But these were intentional movements made to induce stem movement. During riding, the stem was completely “invisible”. Even during standing climbs I wasn’t disappointed with any weird sensations at the bars.
Ride feel was not negatively impacted at all by going to an even lighter setting, in my opinion. Of course, anyone with a mind to try this stem would have to find that “Goldilocks” setting for themselves. Fortunately, there are many combinations of elastomers that you can try to get that balanced, smooth ride feel for yourself. Of course, I suppose it still stands to reason that some riders won’t find what they are looking for, but in my opinion, this stem is very tuneable and a good setting shouldn’t be hard to find for most riders.
So Far…… The Redshift Sports ShockStop stem is a sleek looking, almost normal appearing stem that has a hidden talent for absorbing vibrations. It isn’t light, for a stem, but as a vibration taming device, it is one of the lightest options out there. There is a bit of technical futzing that goes in to finding the correct elastomers and orientation of this stem, but the results seem to be worth it. Gravel road chatter is greatly reduced and the stem’s operation is, so far, invisible while riding. Stay tuned for my final update coming in a few weeks.
NOTE: Redshift Sports sent over the ShockStop stem at no charge for test and review. We are not being paid nor bribed for this review and we strive to give our honest thoughts and opinions throughout.
Discuss and share your questions or thoughts about gravel bikes, gear, events and anything else on the Riding Gravel Forum.
[adrotate group=”1″]