The Riding Gravel Light Round-Up: Setting The Stage- by Grannygear with Guitar Ted
It’s a simple light choice, isn’t it? Maybe not.
Let’s take a minute and talk about lights before we get into the reviews so you know where I am coming from. I have some things I have found to be true through long experience with night riding and while most of this has been on mountain bikes and therefore on a mix of fire roads and single tracks, a great deal of it transfers well to gravel bike use.

Its all about the Lumens, right?
There is light and then there is light…it’s not as simple as you might think. There are a lot of variables in modern LED lights for bicycles. For instance the LEDs have temperature ratings that relate to the color of the light. It ranges from blueish/white (alien landing lights) to a more neutral cool white to a near incandescent-like ‘warm’ white light. The ‘cooler’ the light is, the brighter the light appears to the eye, but many folks find that the ‘warmer’ whites look more natural and enhance trail details. But the trade-off here is that a 1000L light in a warm tint will not seem to be as bright as a 1000L light in a cooler, whiter tint.
Even the “L”, as in Lumens (not watts like you would see in a typical light bulb), is a bit hard to pin down. Many lights, especially the Chinese bargain lights, cheat here and give Lumen ratings that do not relate to reality. However; most of the quality lights on the market, such as the Lezyne we have to review, are pretty much on the mark as to their light output claims.
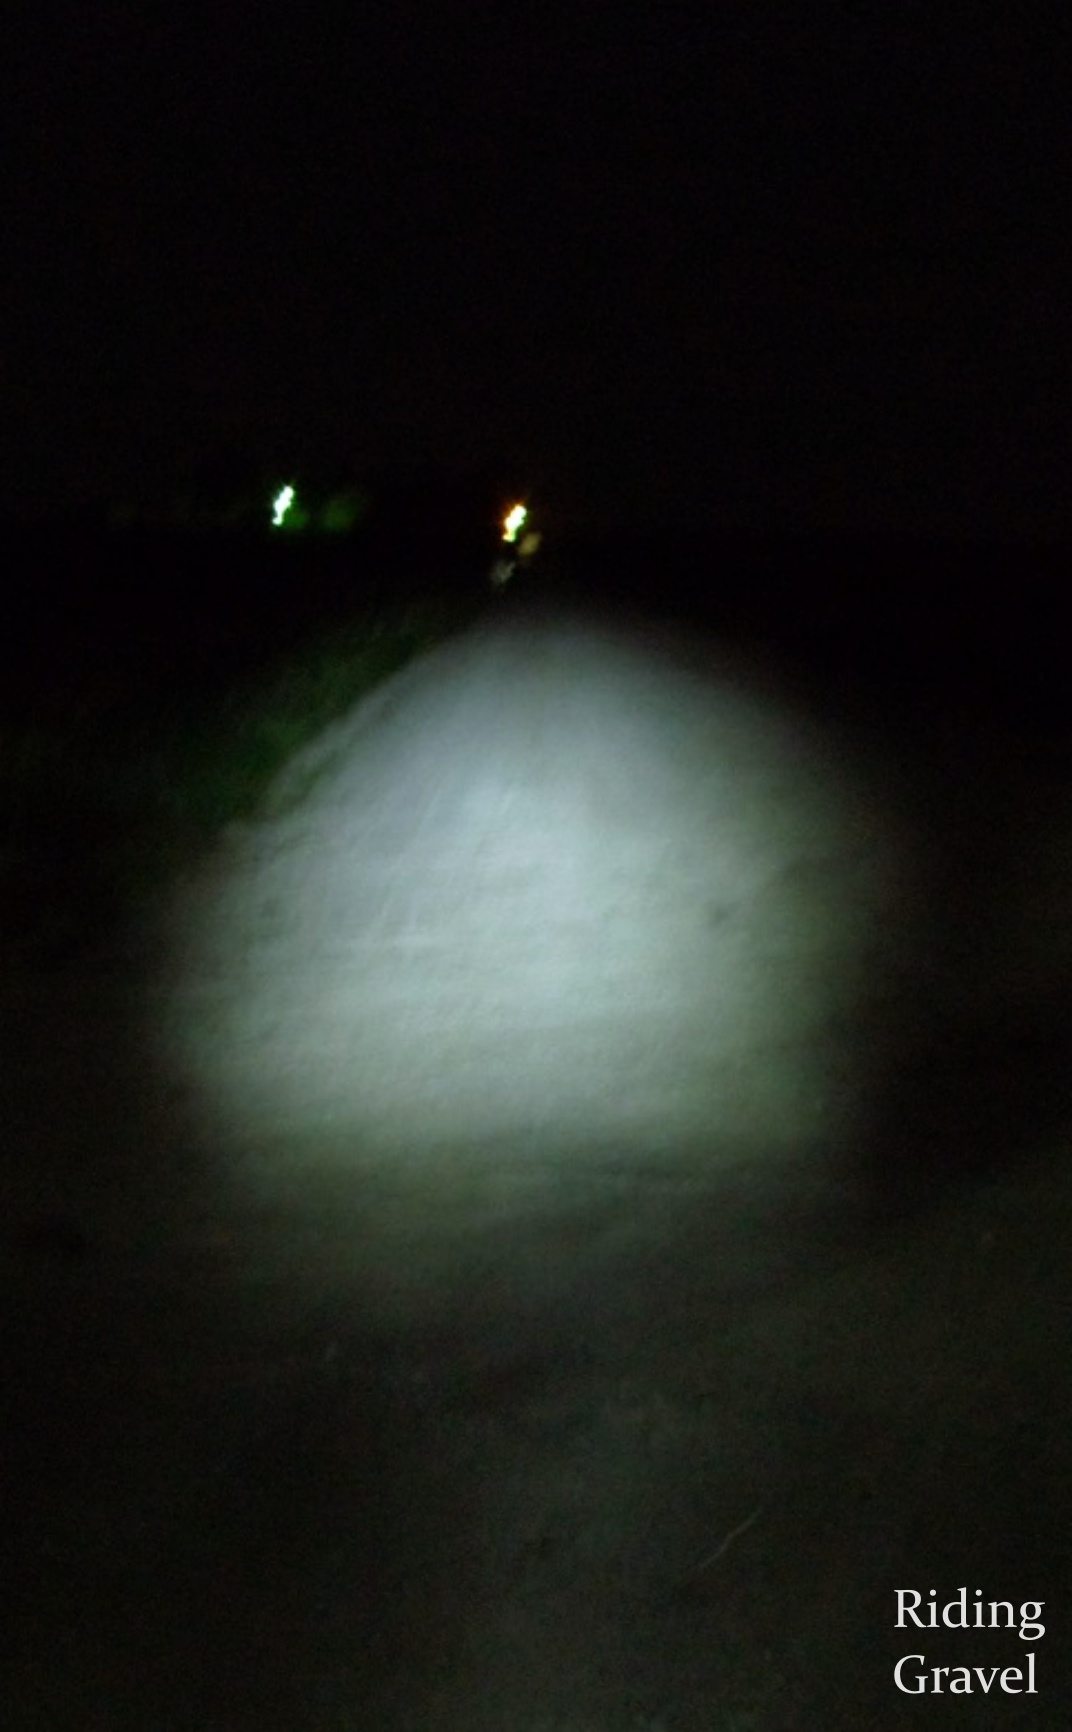
Then there is the ‘shape’ of the light beam or pattern. Depending on the type of lens or reflector, typically either a flood or a spot type, the light put out by the LED emitters can be collected and thrown way down the road or it can be wide and very dispersed. Mix a flood lens with a spot lens (in a two LED light) and you get a combo of wide and flood all in one light. You also have to look at the quality of the light pattern. Are there artifacts or distortions in the beam that distract from using the light? On trails where things are not straight ahead for very long, a wider more floody pattern is very nice. It gives you some grace in case your light is not exactly pointed where you need to look at the moment. It also is less tiring, as compared to a very concentrated light beam, which can wear on you after a while, hypnotizing you into always following the hot-spot with your eyes. The trade off is that a narrow and concentrated beam can throw waaaay down the road and that is nice at higher speeds where you can outrun a floody beam. For MTB riding, a mix of both light patterns is best.
Where is the light to be mounted? On MTBs, a helmet mounted light is very popular as it allows one to look around corners and see into your turn, illuminating the trail before your bar mounted light is pointed where you would like it to be. My thought is that if you are going to run only one light, then it should be on the bars. If your only light is on the helmet, it does a couple of bad things. One is the way it washes out irregularities in the surface of the road. To explain what I mean, take a light that is hanging from the ceiling and place a handful of sugar cubes directly under it on a hard floor. There will be no shadows cast by the cubes. Now take that light off the ceiling and begin to drop it lower and lower, rotating it around the cubes till you are at a sharper and sharper angle. The more you get away from 0 degrees to the top of the cubes, the more shadow you will see. The high position of a helmet light tends to wash out trail detail. It also ensures that the light follows your eyes, so if you turn to look at someone, or even at a car coming your way, you blast them with your light. It also makes it so you can never ‘not look’ at where your light is pointing and that can be a bummer on a nice night with natural moonlight.
How many lights do I need? Depends, but If I am going very far out there or I am alone, I always have two sources of light, even if one of them is not that bright. Things happen. Having a simple helmet light along with your main light on the bars is a good thing.
All-in-one (self contained) or external battery? The all-in-one lights are amazing these days. Even at 1500L, they are still offered with decent run times and at reasonable costs. No cords to mess with. Fast charging. Easy to stick in a pack. That is my choice most of the time if I am out for my typical 1-2 hour ride. But the limit is run time Yes, you can get some really bright all-in-one lights but pop those babies on high and the batteries take a hit pretty quickly. If you keep stuffing more batteries into a self contained light they get heavy and big. Now if you move to a separate battery pack and a head piece with the LED emitters in it then the sky is the limit. Need more run time? Stack up those 18650 batteries into a bigger mAh pack. The separate light head also frees up room for doing some crazy multi LED lights as heat management is easier now. Want a 2000L light? No problem. But then you have cords wrapped on your bike and a heavier battery pack strapped to your frame or wherever….it’s hard to have it all, yes?
Then there is the “UI”. The User Interface, as in the mode selection and programming of the light, is a real sore spot for me. Most lights fall short here in my opinion. I have built my own high powered lights and used a customizable LED driver that allowed me to set the light levels and button functions as I wanted them to be. Like Burger King. Hold the pickles please.
What is a rider to do with all these choices?
Personally I like the warmer tints or at least the cool whites. Once we get to a bluish/white tint, I find it a strain on the eyes. More and more the tints are becoming more neutral as the industry reacts to customer input. I am also going to wager that as we move through this testing the beam pattern for gravel bike use can be more spot then flood as we are not all that concerned with seeing around tight corners. However, where is that fine line between such a tight spot of light that it detracts? We shall see. I am also betting that something at 1000L or just a bit less will be plenty adequate for gravel use and a light that allows for swapping between High and maybe 40% of High with one touch of the button might just be perfect. On an MTB we can spend a couple of hours climbing along at less than 5mph so even a 150-200L low setting can be just fine for long, slow climbs on non technical dirt roads. But I will suggest that the typical gravel bike ride will see speeds up into the double digits as an average…say 10mph for a lower speed range and into the 20s for faster run outs…maybe even more.
And you do not want to be running on high all the time as you get night blind with it. Your eyes adjust to the High setting at lower speeds. Then when you start going faster, there is no way to go ‘up’ in light level and regain a sense of increased brightness. A light that gives you a nice, easy selection of two light settings at the push of a button (without rolling through several flashy modes) is key in my opinion.
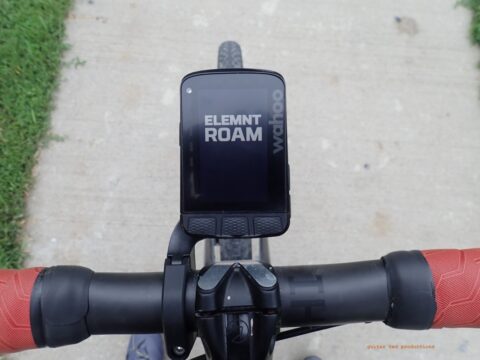
So for the purposes of this review time, I am going to focus on mounting all these lights as bar mounted. Many of them are also suitable for helmet use and come with mounting gear for that, but some of them would be a bit heavy to add to the top of a helmet. It is surprising how fast those extra grams up top affect your noggin. However I am going to test each light paired up with a helmet light that for me has become the go-to helmet light for MTB use. The Ethos light is a company started by a very smart and creative MTB guy that thought he could make a better mousetrap…errr…helmet light. I think in many ways he did just that. So I will be seeing how the Ethos light I have will play along with each light on test.
I will be using the Nightrider Lumina 950 (stolen from Mrs. Grannygear…she uses it on her road bike mostly) as an example of a very well done all-in-one light and I will be comparing every light to it. Why the Lumina? It has been around long enough to have a good sample of them out there for one. Chances are you know someone who has a version of this light. It has a decent clamp, is not a pig, has a very good UI (user interface), and enough Lumens to fit well into this group of lights.
My exposure to these test lights so far is that all of them are quite different and have both good points and bad points. I also think they represent a decent example of the marketplace at large although new tech is coming along that none of these lights have. There is one that has risen above the rest for me but you, dear reader, will have to choose for yourself and I am not telling ahead of time which my favorite gravel bike light is of the bunch. Hint: it is NOT the one I would use for MTB use or for road use….how ’bout that for niche!
And now, for something completely different: Generating your own electrons…dynamos, the everlasting gobstopper of light sources.
The Always On Light- by Guitar Ted
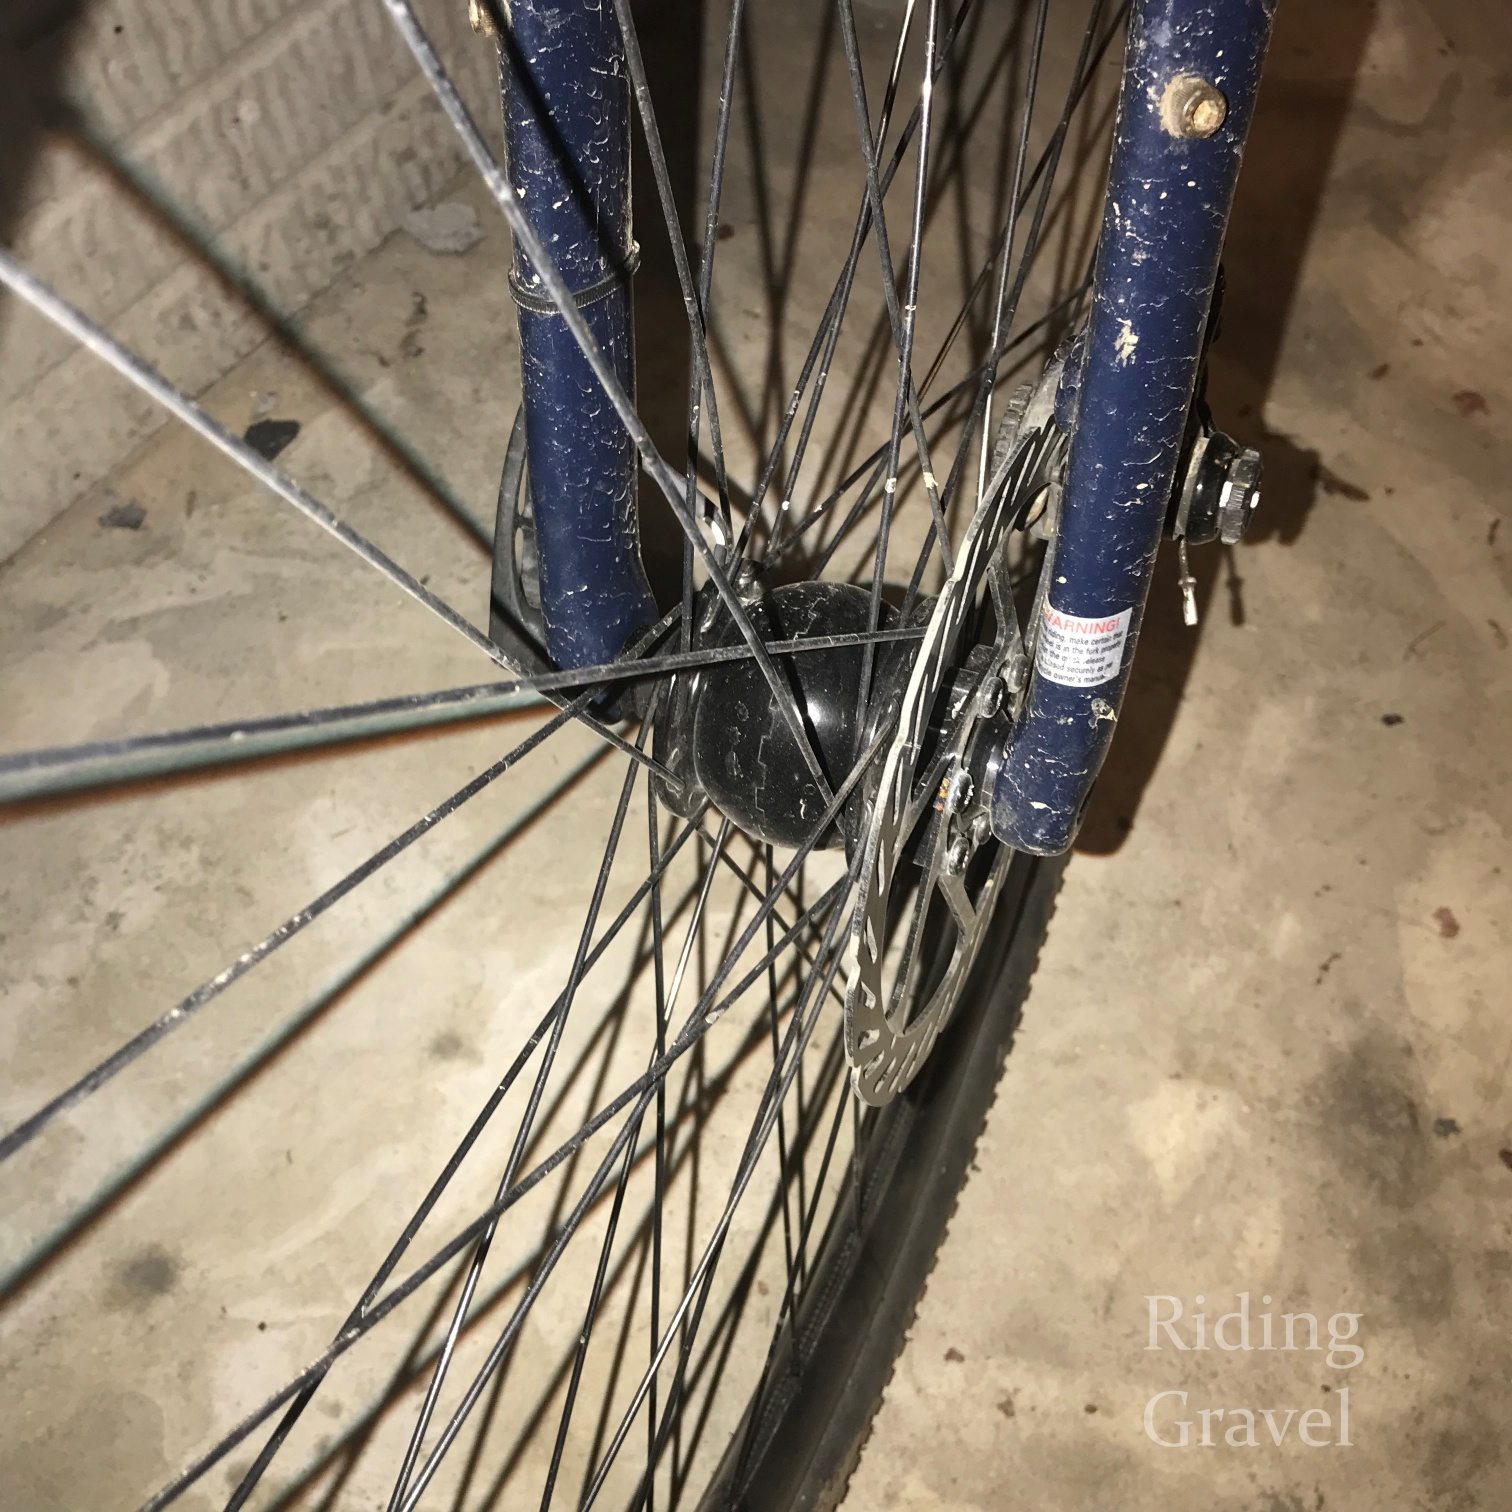
When it comes to the generator hub, a lot has changed in the last decade plus. Once the laughing stock of bicycle lighting technologies, the newest generator hubs now represent the cutting edge in bicycle lighting. Able to not only light up the night sufficiently to allow for safe, speedy travel over most surfaces, these newer hubs can also charge your devices, such as GPS units and smart phones.
Since generator systems don’t typically rely on the rim or tire sidewall to aid in generating electricity anymore, the only downside is that the generator is now part of the front wheel assembly. If any issues should arise during a tour or longer ride that put your front wheel out of commission, the light is going down with it. But those instances being somewhat rare, many see generator’s “always available power” as an asset outweighing any potential issues arising from front wheel damage or failure.
Then there is the cost. A decent quality dyno front hub will easily cost more than a really good “all-in-one” lighting system and then you still have to factor in spokes, nipples, and a rim. Also figure in a lighting unit, wiring, and small parts. Cost is going to be higher for a generator set up, but there is no charging of batteries and the system is always ready to go when you are.
RidingGravel.com’s current stable of test riders don’t use generator lighting systems, so we went out and recruited a new member for our team that does. “CNB Sam” will be chiming in later in a full post about the merits of generator lighting, and he is fully down with this technology, having it across several bikes in his stable. Stay tuned for that post coming soon.
Stay tuned as Grannygear gets the series kicked off with the next post in this series.