

Tubeless Set Ups With Guitar Ted – by Guitar Ted
This is the post, as promised in Grannygear’s tubeless set up post, which will feature the things I use to do the “tubeless dance”. Much like Grannygear, I’ve been doing tubeless tire set ups since before there were proper “systems” in place. Much of what I learned early on in my immersion into the tubeless world was helped along greatly by our contributor, MG, who has also been doing tubeless tires on mountain bikes since way before I got into this. So, combined we have several decades of tubeless experiences behind us here.
In this post, I’m going to show off “what’s in my bucket‘, only it isn’t in a bucket……. Well, you’ll get the picture. These are the tools I have used to be successful at setting up tubeless bicycle tires.
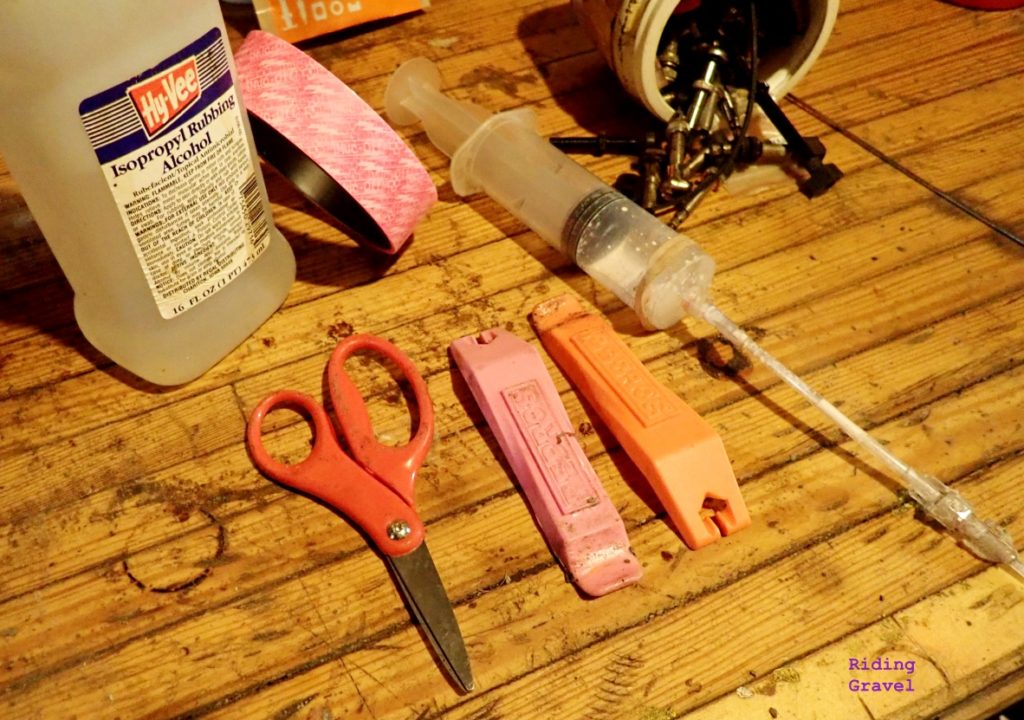
Let’s work the image above from upper left to upper right then, shall we? In the upper left I have a bottle of rubbing alcohol which I use to make sure rim beds are clean and free from oils, which make tubeless tape not stick very well. Next to that is a roll of Muc-Off tubeless tape, but I have traditionally used Stan’s tape, and it has been best. Velocity “blue” tubeless tape is also very good. That said, I just started using the Muc-Off and it is a contender. Then we have the syringe. It is a KOM Cycling injector, which we reviewed here, and is the best injector, hands down, that I have used. Next to that injector is a tub full of tubeless valve stems, valve cores, dip sticks for checking sealant, and various Presta valve nuts, “O” rings, and rubber bases for tubeless valve stems. (I’m a bit of a hoarder)
In the middle of the image is a kid’s safety scissors I found on a commute which I use to trim tape, and two Pedros tire levers, which are the “gold standard” in tire levers for me these days. So, those things make up the basics, but what about inflation, or measuring tools?
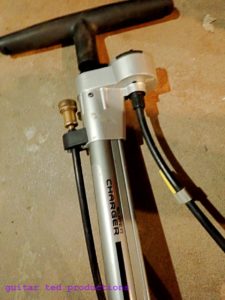
Well, I try to always pump up and set beads on tubeless tires using this ancient Bontrager pump which was tagged to go into the dust bin 10 years ago, but I saved it. I modified it with a Silca Presta valve head, and a longer hose, but otherwise it is stock. The shaft is wobbly, the seals squeak horribly, but the gauge is fairly accurate, and it is located near the handle, which makes it easier to read in my dimly lit shop.
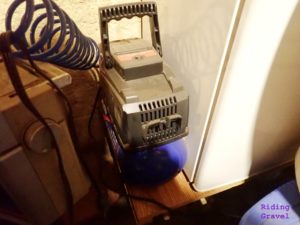
I figure if this poor old pump can huff up a tubeless tire on a rim, then it can be done by most anyone, because this pump isn’t very good. Now, if I cannot get things to set up properly with the old Bonty pump, then it is time to move to something with a bit more horse powah. That being my mini Campbell-Hausfeld air compressor.
I picked this up new for a cool hundy at the hardware store and I added a triggered air release valve on the end of the coiled hose with a long extension of surgical tubing over the valve’s nozzle. This is then fitted over a valve stem with the core removed. Generally speaking, a short blast is all that I need to see success, although I have had a few instances where certain tire/rim combinations were not compatible, and I suffered defeat.

In terms of measuring tools, I have used kitchen measuring spoons, like the white one in the image to the left here. I also picked up a red scoop somewhere along the line which I used for measuring windshield washer solvent when I make my home brewed sealant. I also love this pink measuring ‘spoon” from Muc-Off for measuring out Latex Mold Builder which I used to make sealant with. Lately I’ve quit making the sealant and have used the KOM Injector tool with Orange Seal and Muc-Off No Punture Hassle Tubeless sealant. So these tools set dormant these days.
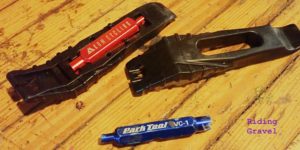
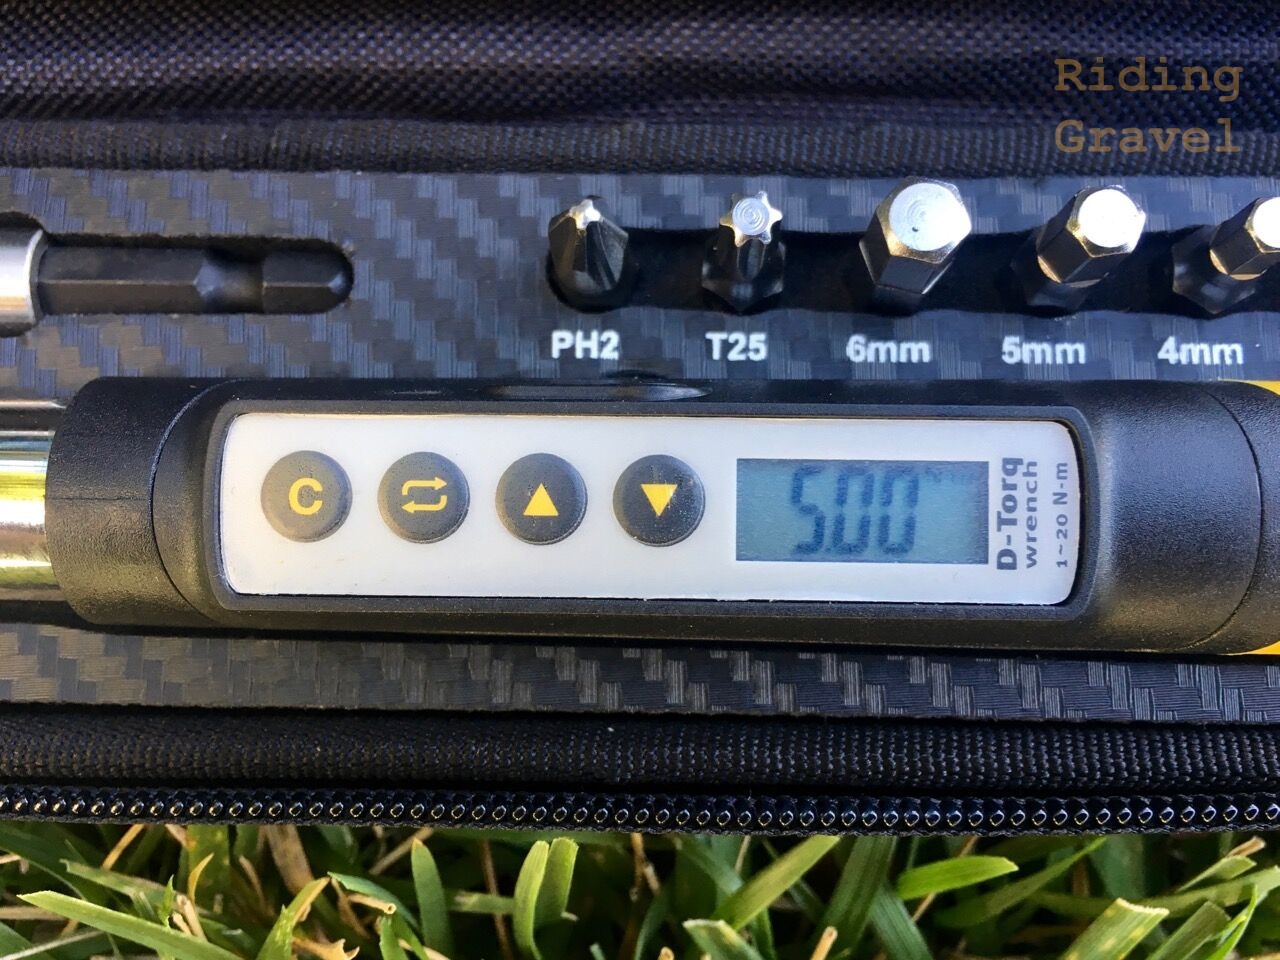
My valve core tool is the same Park Tools one Grannygear uses, but an honorable mention must go to KOM Cycling’s tubeless valve removal tool and the levers that go along with that. These levers are stiff, strong, and have a good edge for getting underneath that tire bead, so as far as levers go, you could do a whole lot worse. That the valve core removal tool and levers all nest together makes this set up a killer one for shop and on the bike. If you can only buy one set of levers and one valve core removal tool, the KOM Cycling combo is what you should take a look at.
Grannygear will be back with a look at two pumps and some inflation bottle gizmo from Topeak soon. I will have another article here soon on tubeless sealant and valve stem kits from Orange Seal, and a separate Quick Review on the Muc-Off Tubeless tape in the future. Stay tuned!


Thanks for the shout out, Brother. We’ve taught each other a lot over the years. My shop setup is much like yours, including the KOM Cycling injector and levers. Those things have been awesome. The injector, in particular, has become indispensable.
After nearly two decades of mixing up my own sealant, I too have been trying out other sealants lately, mostly in an attempt to get away from the ammonia in Mold Builder-based solutions. I haven’t tried the Orange Seal products yet, but have had very good luck with Muc-Off and Bontrager TLR sealants.
After all we’ve been through, we’re finally in the age of reliable ‘out of the box’ tubeless. That’s something to be thankful for.