A Quick Guide To Get Your Bike Ready For Sloppy Roads – by Guitar Ted
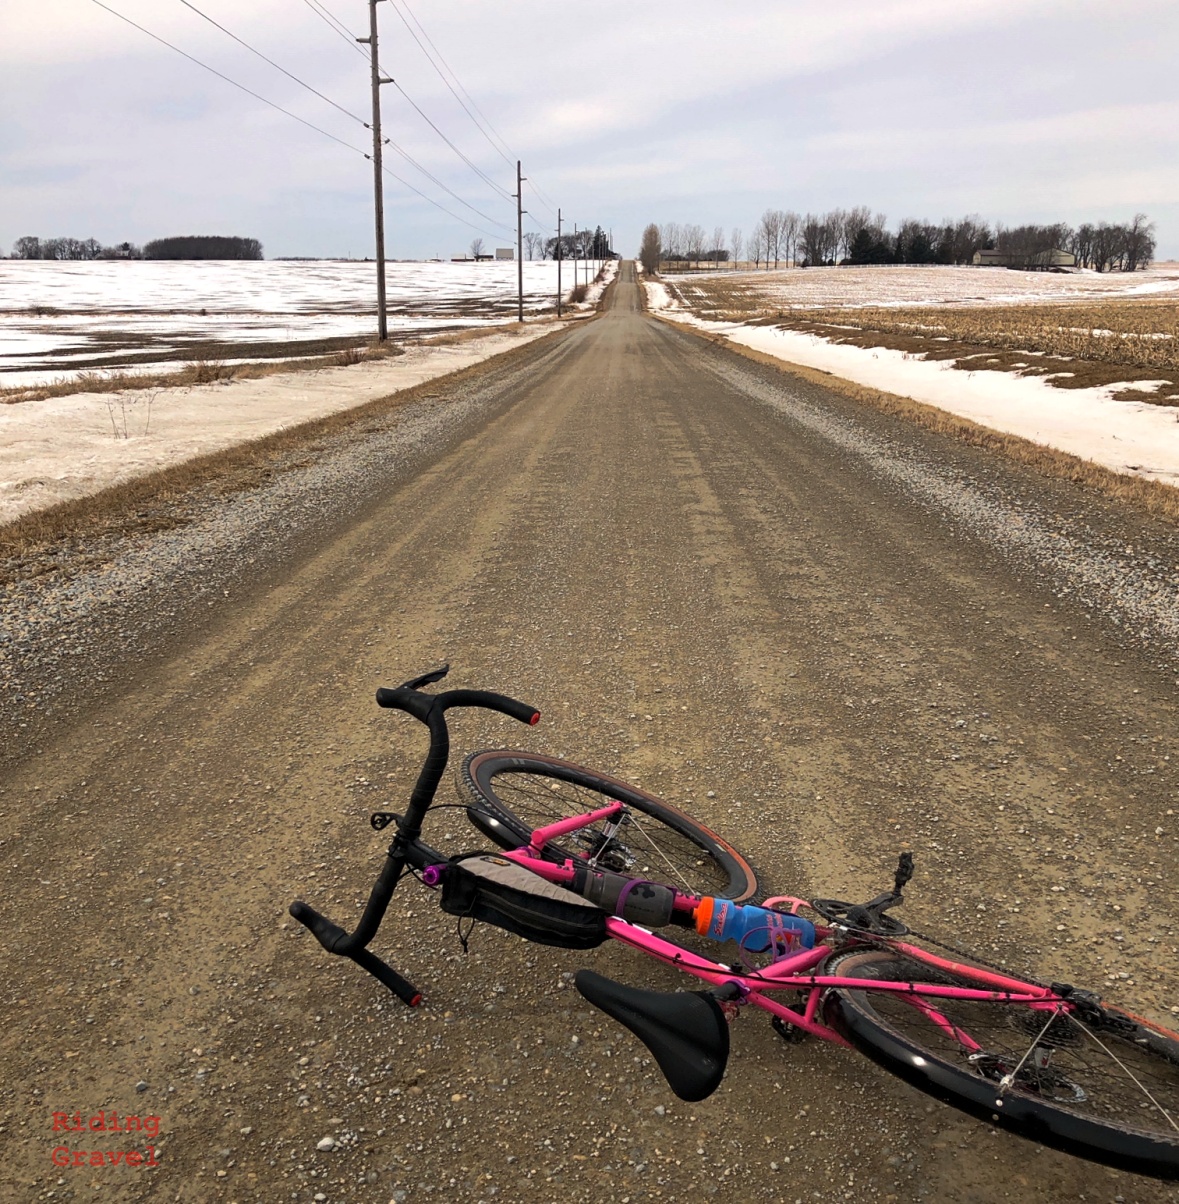
Spring is here in North America and along with that comes the sometimes sloppy, muddy, and wet conditions on roads we like to travel. With the popularity of gravel and back road riding being what it is, one of our dear readers suggested we might give some tips on how you can help get your bike ready to tackle these challenging conditions. So, thank you to those of you who read “Riding Gravel” and for your feedback. We appreciate that.
Now I have to say that the following tips and suggestions are not representative of an unabridged knowledge for ways you can best take care of your bicycle for these sorts of conditions. These are also great tips for general bicycle maintenance overall. Maybe you’ve had some experiences you’d like to share? Might I suggest that for any feedback you may have that you share it on our Forums? That would be best for everyone as most comments here won’t be seen by many folks. Thanks in advance. You’ll be able to see this under the heading “Gravel Riding” there.
Now on with the tips and suggestions……
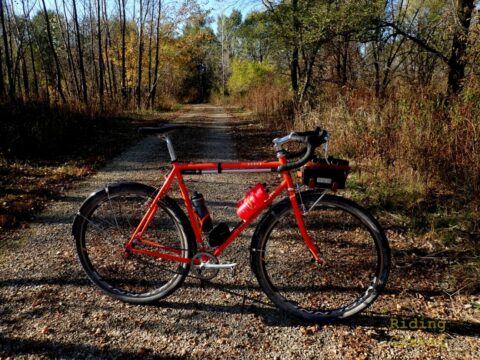
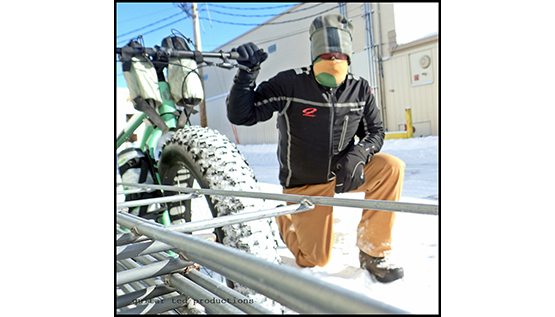
Fenders: In my opinion, fenders are the single most effective preventive measure for riders looking to help preserve their bike’s performance in bad conditions. If your bike can support them, I highly recommend using them. Fenders help cut way down on the dirt and grit that can get into your frame, components, and cause damage and accelerated wear. While some folks worry about the aerodynamics of fenders there are suggestions by some researchers which indicates that it doesn’t matter. Mud and grit do not affect a fenders stability as long as your get some robust fenders. My favorites are from Planet Bike. Their Cascadia ALX fenders are quiet, sturdy, and look classy. Fenders people. They are not dorky, they are smart.
Clip-on fenders are also a great solution, but they don’t keep your bike as clean as a full-coverage set of fenders can. That said, if your bike doesn’t have fender eyelets, something is better than nothing.
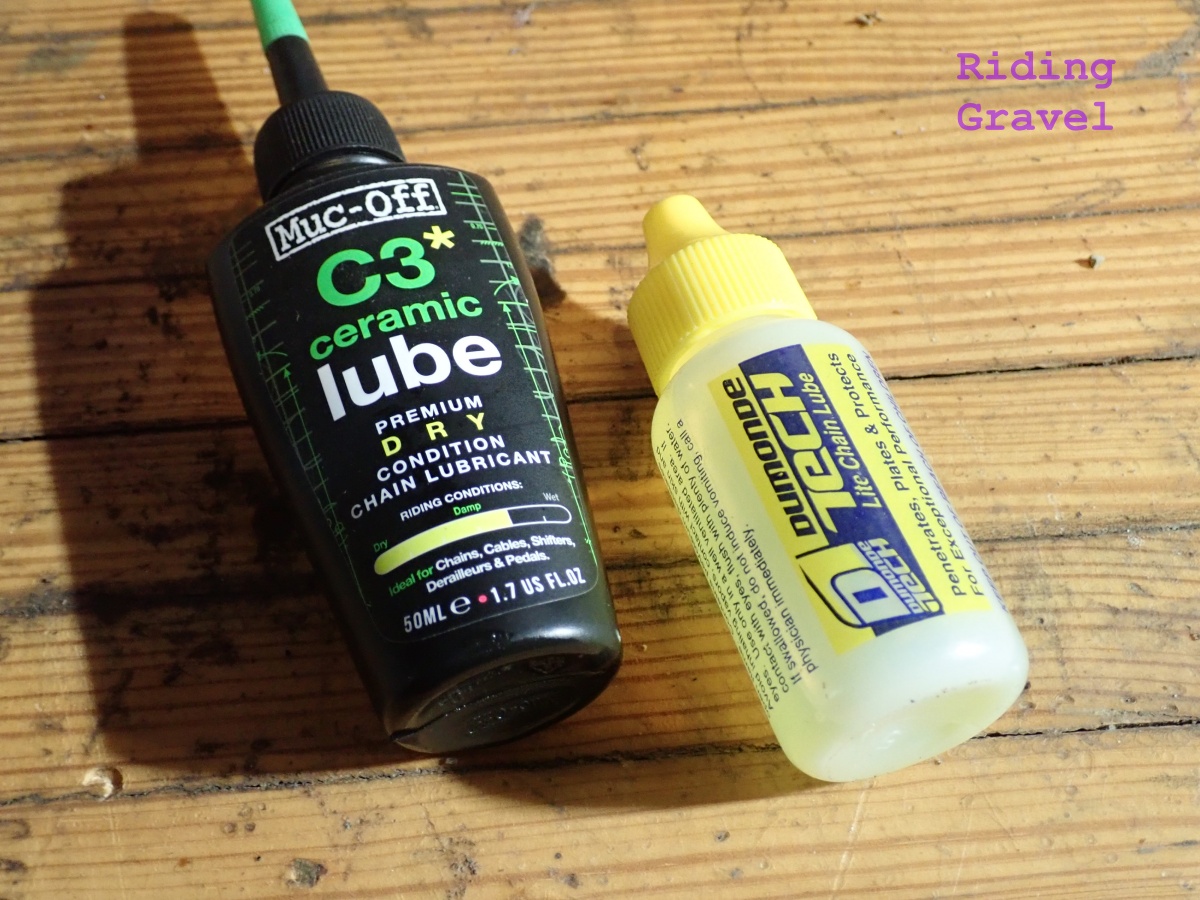
Chain Maintenance: The chain of your bicycle really needs to be in tip-top shape going into a messy season of gravel or back road riding. It doesn’t necessarily need to be a new chain, but it should be in good shape, and this goes for your cogs as well. Replace both the chain and cassette if they haven’t been swapped out and your chain wear is beyond .75 (using a typical chain checker), because a worn out cassette and a new chain are not good mates. (Tip: Use a ruler if you don’t have a chain checker. See here) Then when you are sure your drive train parts are good to go, you should lubricate them with a quality chain lube. Tip: Follow label instructions for application to the letter! No short cuts! If you don’t have instructions to follow, you can never go wrong by taking the chain off, degreasing it with a bicycle specific degreaser, washing the chain with a brush in a solution of dish soap and water, rinsing it thoroughly, and then getting it as dry as possible. (Hair dryers work, or compressed air) Then, and only then do you lubricate the chain. Just applying lube over a dirty chain is not the best practice. I’d do this early on and ride the bike a bit to wear in the lube.
Gear and Brake Cable Maintenance: It is amazing how much friction can build up within old cable housings and how corroded stainless steel shifter and brake cables get. Since the issues with friction take a long time to develop, you may not have noticed how bad your cables and housings really are. This is an excellent thing to look into if you haven’t, because you may be surprised how much better brakes and derailleurs work when these things are changed out for quality cables and housings. Keep in mind that it takes a bit of riding to bed in housings, so get this done long before you need to have it for an event, as an example. That way minor adjustments won’t have to be made under the duress of the ride conditions. Of course, if you run electronic shifting and/or hydraulic brakes, well then, never mind!

Tip: If you have external cables which route underneath the bottom bracket, don’t forget to clean this area, and lubricate the channels the cables run through. This will make your shifting far easier! A mid-slop ride cleaning of this area may also help in severe cases.
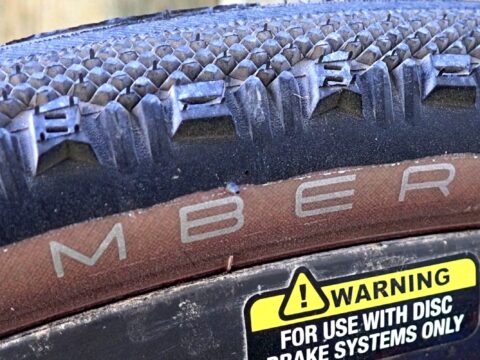
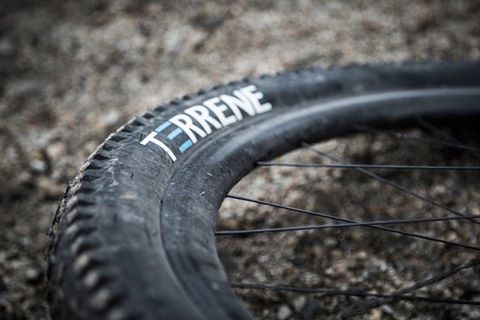
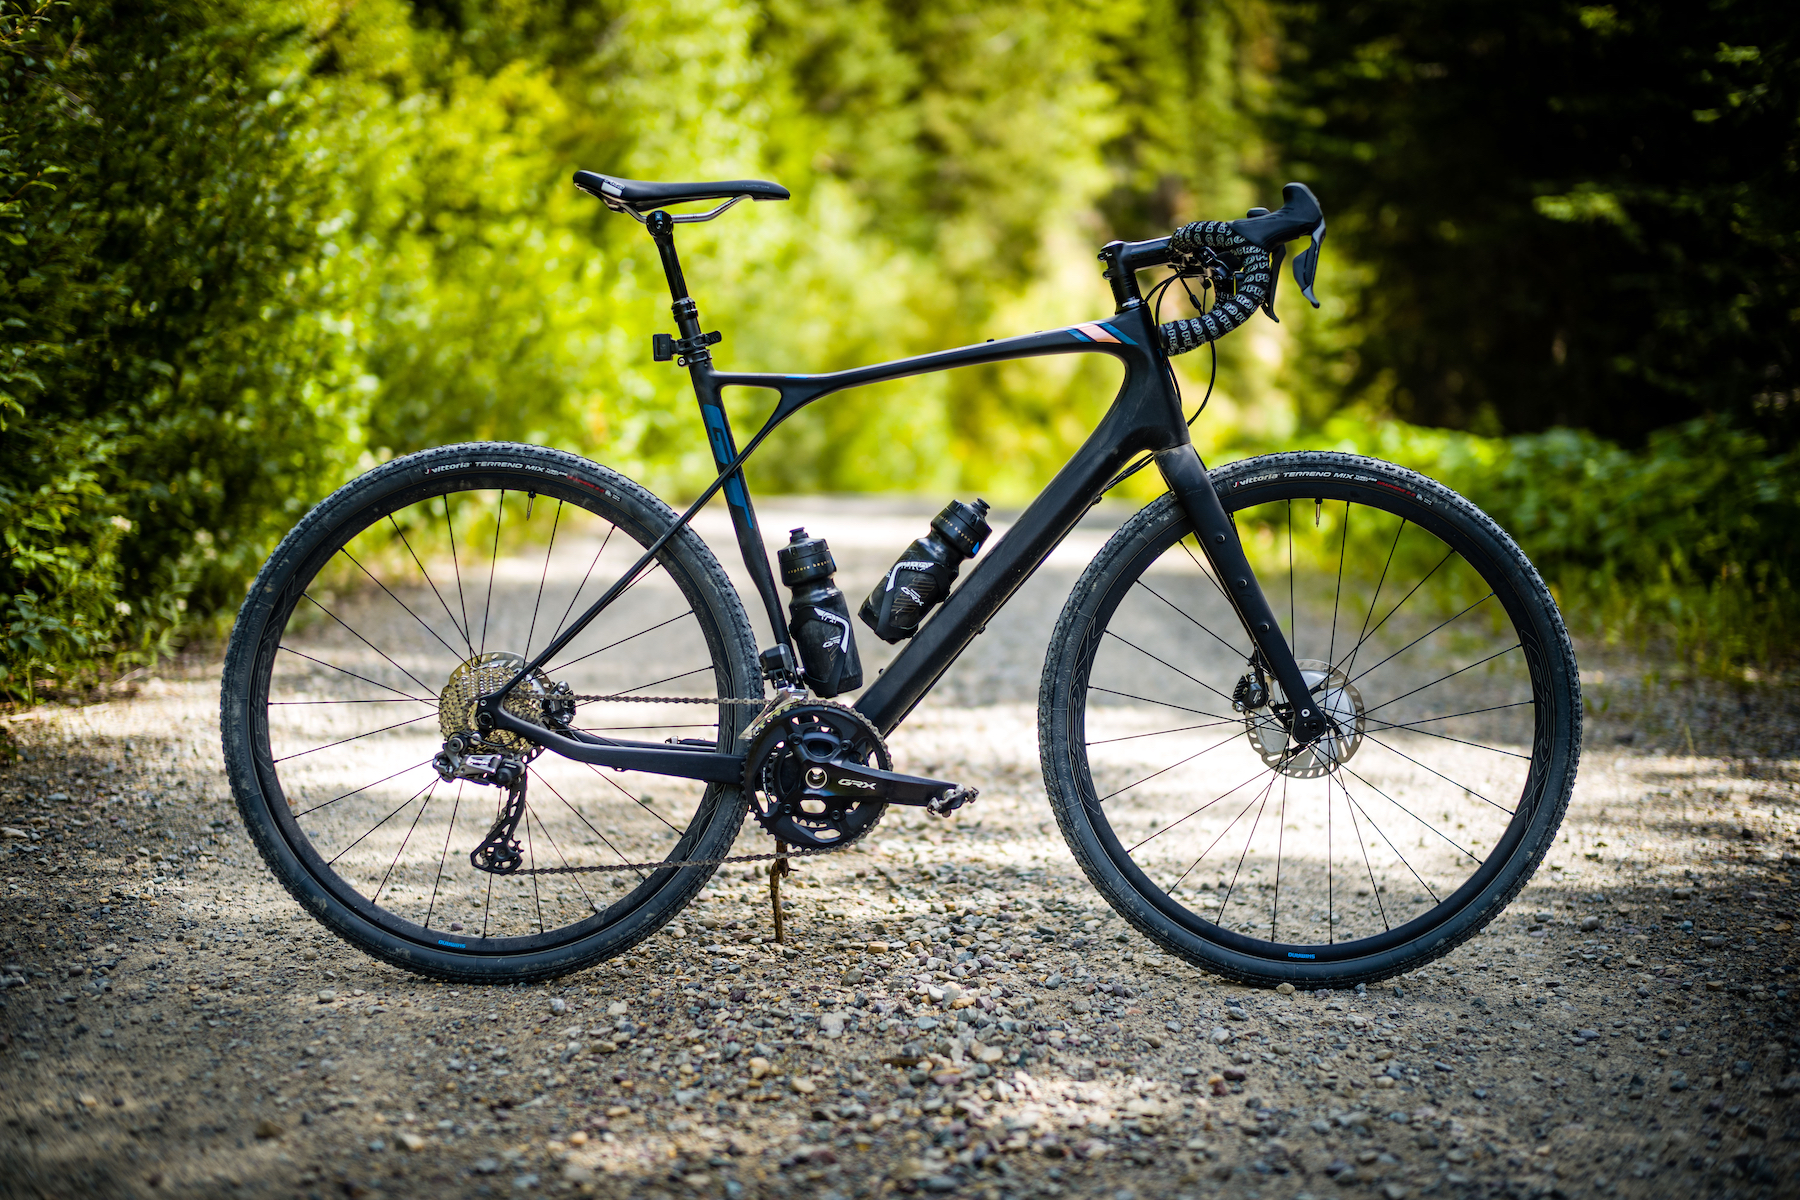
Tire and Wheel Maintenance: The tires on your bike are key for high performance in bad conditions. They need to have the appropriate amount of traction capabilities, suppleness, and they need to be in tip-top shape. Make sure you have new, or close to it, tires which will do the job on the surfaces you are going to find yourself on. If you know there is going to be mud, for instance, bringing a tire with no tread, worn tread, or closely spaced, minimalist tread blocks may not be the greatest choice. Tires with widely spaced blocks or that are specifically made for mud, (like Vittoria’s Terreno Mix, or Terreno Wet) could be a better choice. Tire choices can be debated ad nauseam, but what is not debatable is that supple tires with decent volume and which are in excellent condition work best in bad conditions. And then there is tire pressure. Experiment. Lower is better.
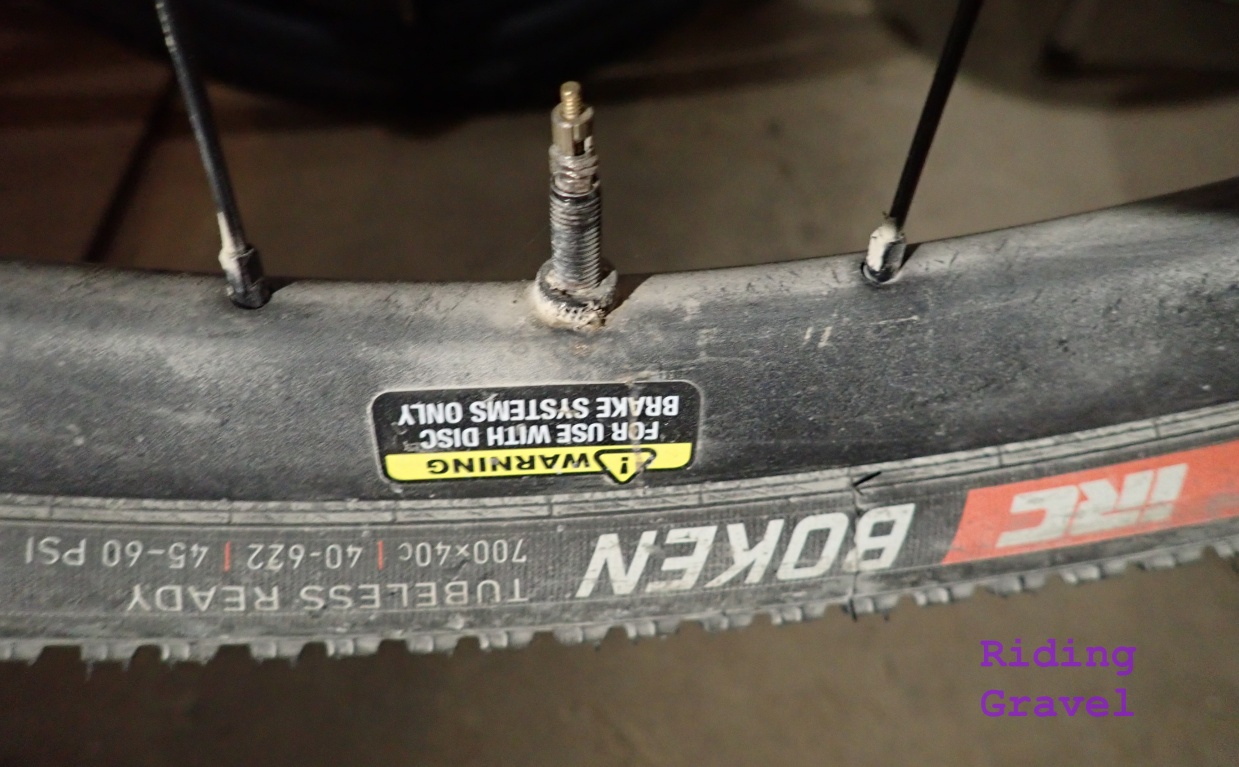
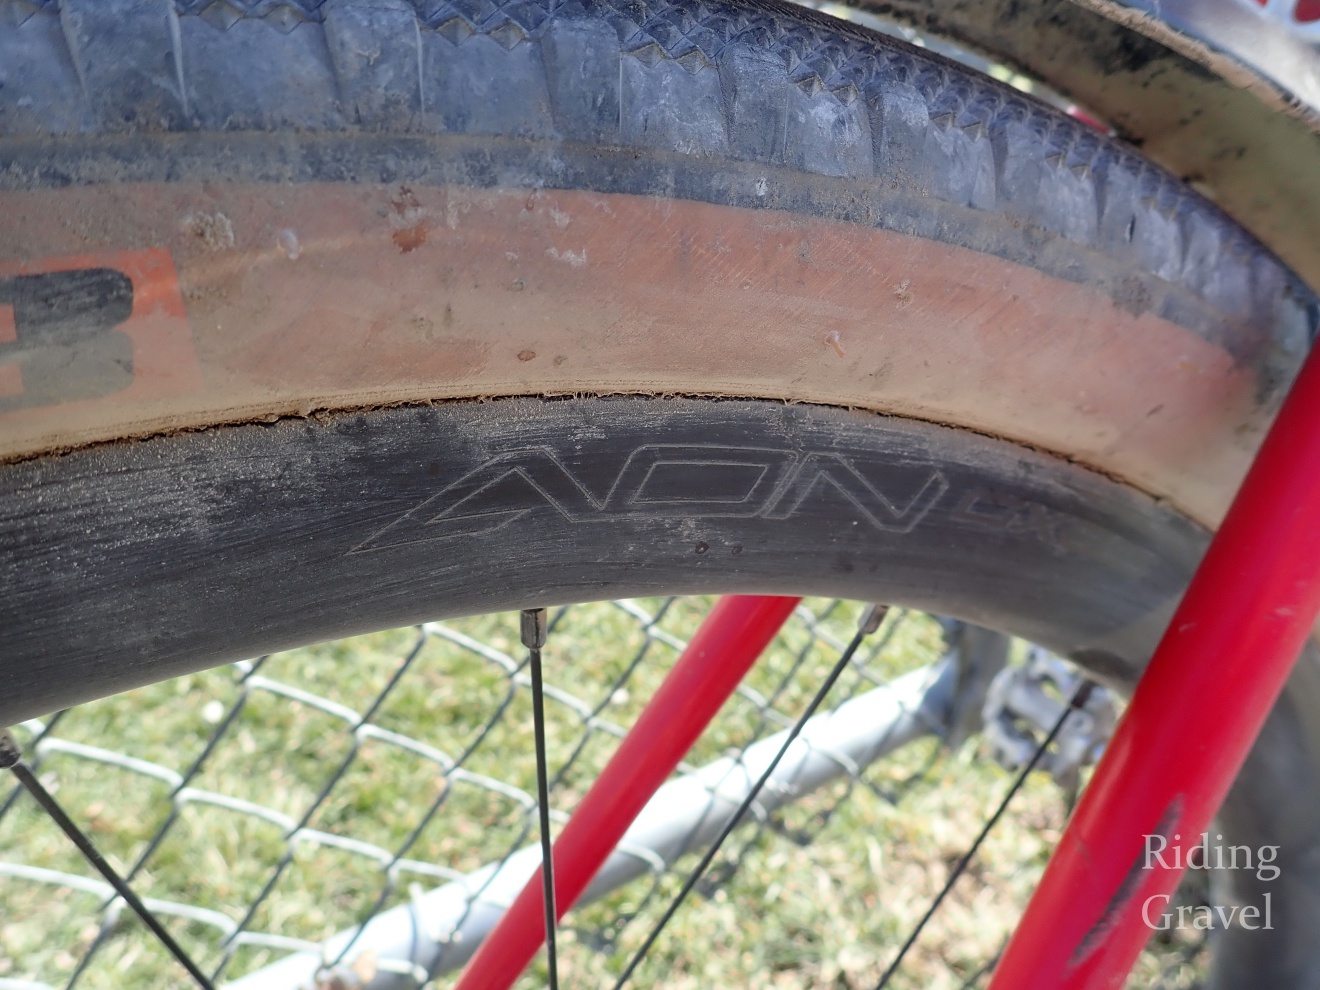
Wheels are also important. Have the bearings checked, and if they are bad, you may want those swapped for new, or maintained. Wheels with bearings in poor shape will fail much more quickly in poor conditions, leaving you working harder, or worse, walking. But even more importantly, those wheels need to be inspected for corroded spoke nipples, bent and chewed up spokes, and finally, if they are tubeless, the valve cores should be inspected. Remove and replace any suspect parts if need be. Finally, tubeless sealant, if the tires are tubeless, should be topped up, or the tires should be cleaned up and new sealant used if this hasn’t been done for a long time, or ever. If you have the tubeless tires replaced, or taken off to have old sealant cleaned up, it isn’t a bad idea to replace the tubeless tape at the same time. That goes for corroded valve stems as well. Doing these things will be the best insurance against standing alongside a muddy road wrestling with a tire or wheel issue in bad conditions.
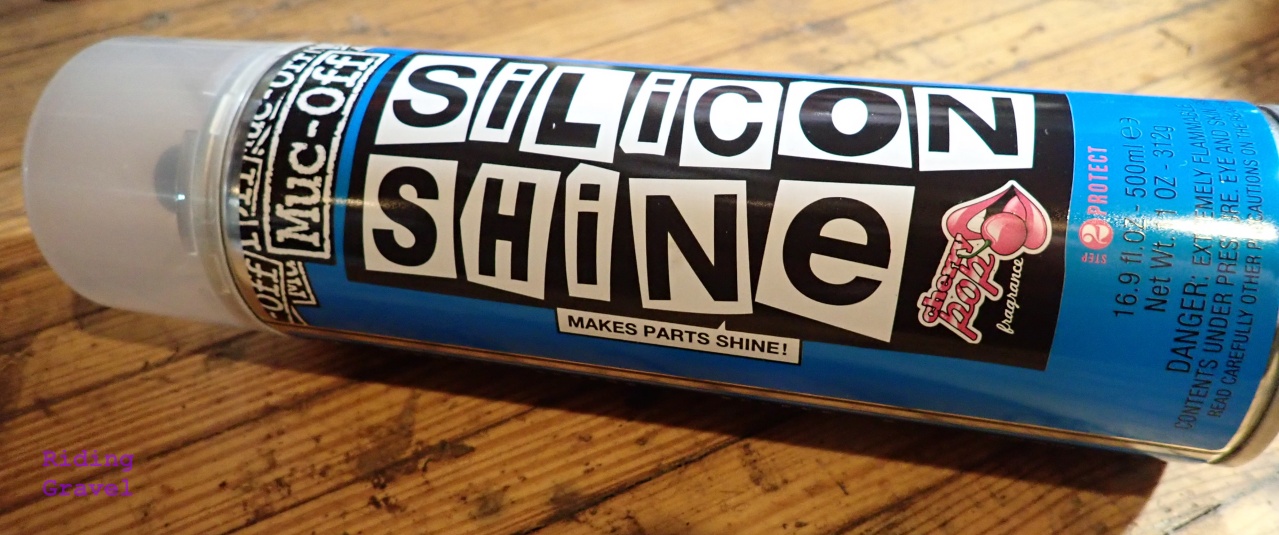
Frame Prep: If you’ve ever been in a muddy situation and then had that mud dry onto your frame, you know that can be like trying to remove cement when you try to clean it. One thing that I have done to mitigate that issue is to wipe down my frame with a cleaner/polisher containing silicone. I have used this Silicone Shine product from Muc-Off and also Pedros Bike Lust. Once these products have left behind that film of silicone, mud and grime come off far easier when the time comes for cleaning. In fact, you can brush dirt away in most cases, leaving the high pressure water jet behind, (which I would highly discourage the use of anyway), and what’s more, the shine comes back much easier than it would without the silicone being there. Plus, it helps protect your bike’s finish, keeping that new look longer.
Waxing your frame with car wax is another trick some riders have employed to obtain similar results. Finally, I have also heard of riders spraying their frames down with a non-stick cooking spray just before a muddy event, with claims of good mud-shedding performance, although I have no experience or evidence to back this claim up. At any rate, going into a muddy event with a clean, slick frame will help prevent excessive mud build up. So, keep that bike clean! Remember: A clean bike is a happy bike.
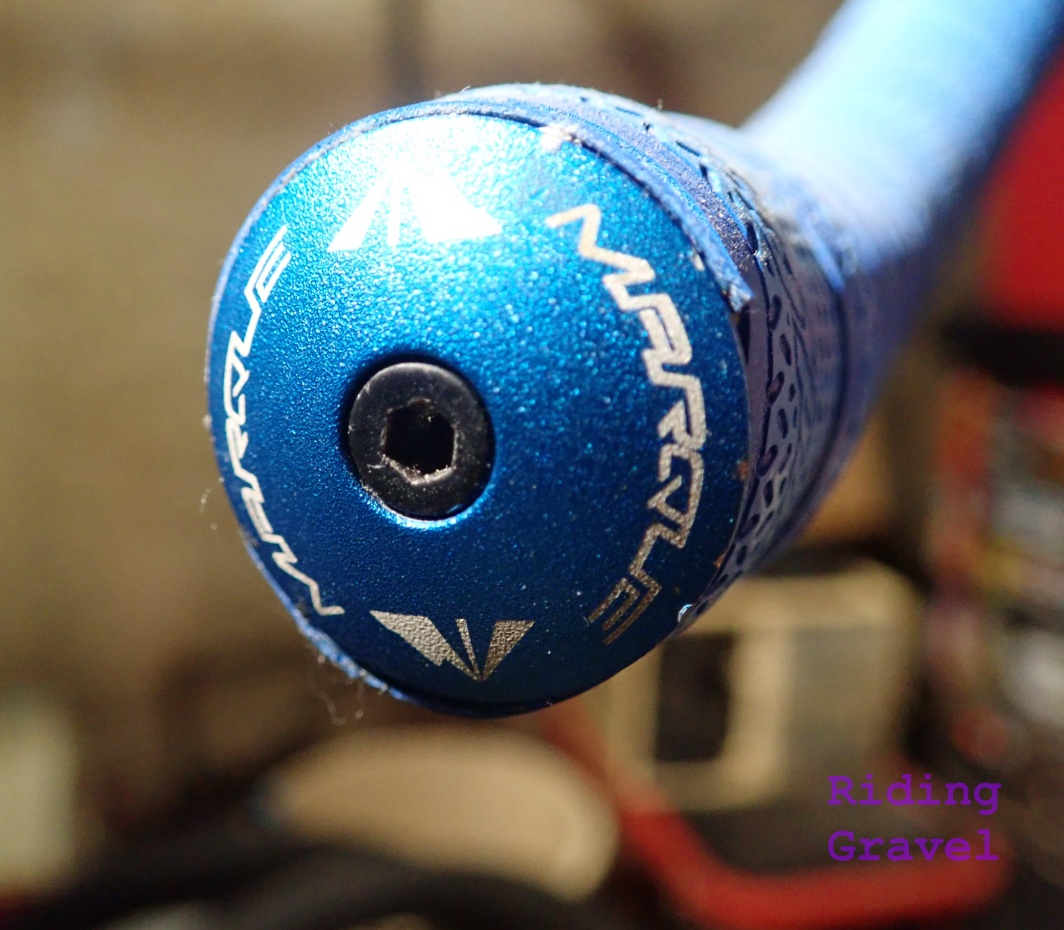
Handle Bars-Tape: One of the most commonly neglected bits on any drop bar bike is handle bar tape. Severe conditions will put a premium on control, and if your handle bar tape isn’t up to the task, you could be in for some trouble with handling. Actually, doing a regular changing of grip tape over the course of the year is a good thing. Depending upon factors like riding conditions, sweat, and dirt, I’d recommend changing bar tape at least a few times a year for best results. The other thing to keep in mind is that sweat, dirt, and moisture can combine to make for a situation where your handle bars corrode under that old bar tape, potentially causing catastrophic failure. So, pay attention to your handle bar tape! If you haven’t changed it in a long while, now’s the time. Your comfort and control will be enhanced, and you could possibly head off even bigger problems with corrosion.
Severe conditions call for grippy tape, and we’ve tried several brands ranging from Lizard Skins to Salsa’s tape, but one of the most impressive, grippy tapes I’ve tried comes from Marque Cycling. A silicone based grip tape is best for wet, muddy conditions and seems to hold up in inclement weather. But whichever tape you choose, make sure you wrap it well and if you don’t know how, have a local bike shop do the job for you. A well wrapped bar is key to comfort and ultimate control.
Okay, so there are some ideas for you to chew on as we get into Spring in North America. As I said, there is a lot more to be said here, so don’t forget to hit the Riding Gravel Forums to share your experiences and knowledge with the riding community there.
Note: Riding Gravel was not paid, nor bribed to promote any of the products linked in this post. Guitar Ted uses these products and used links as a courtesy to readers who may want to research the mentioned items further. We always strive to give our honest opinions and views throughout.